The Ultimate Guide to Preparing Epoxy for Flooring Installation: A Comprehensive Step-by-Step Tutorial
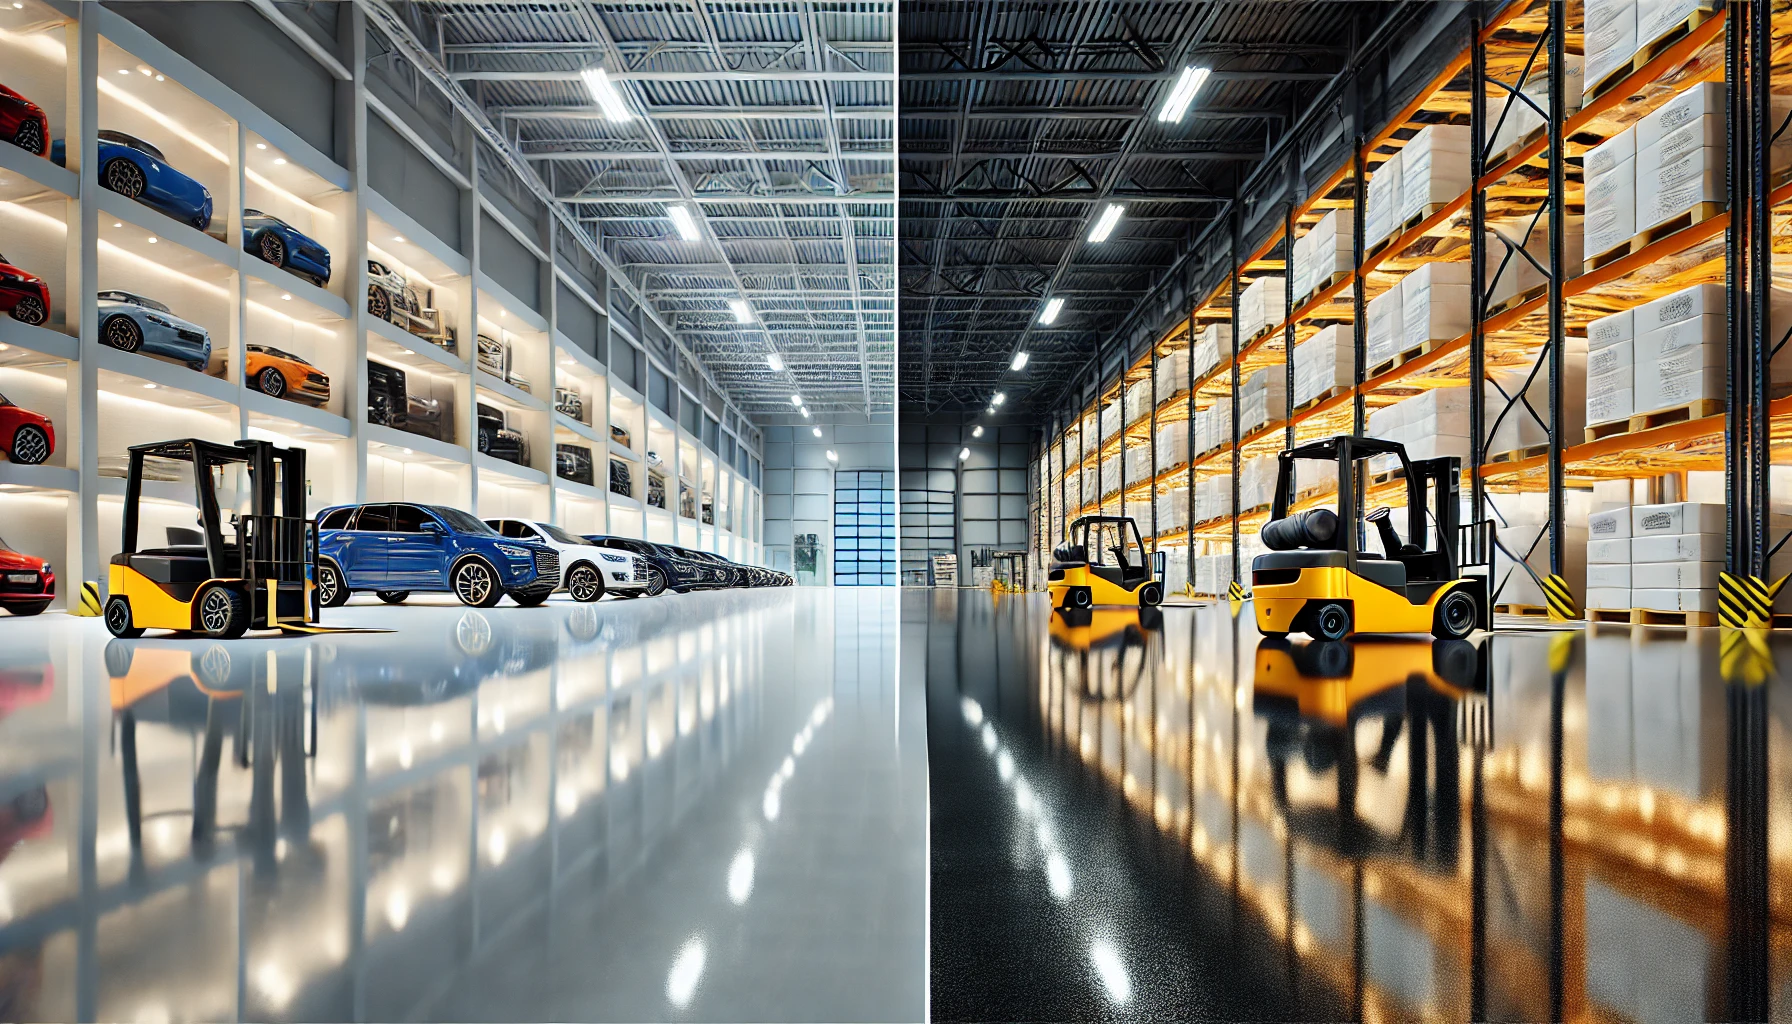
Epoxy flooring is more than just a trend; it's a practical and attractive solution for various spaces, from garages to commercial buildings. But what makes epoxy flooring truly shine is the meticulous preparation that goes into it. In this comprehensive guide, we'll walk you through the entire process of preparing epoxy for flooring installation. Whether you're a DIY enthusiast or a seasoned contractor, this article is your one-stop shop for all things epoxy.
Introduction
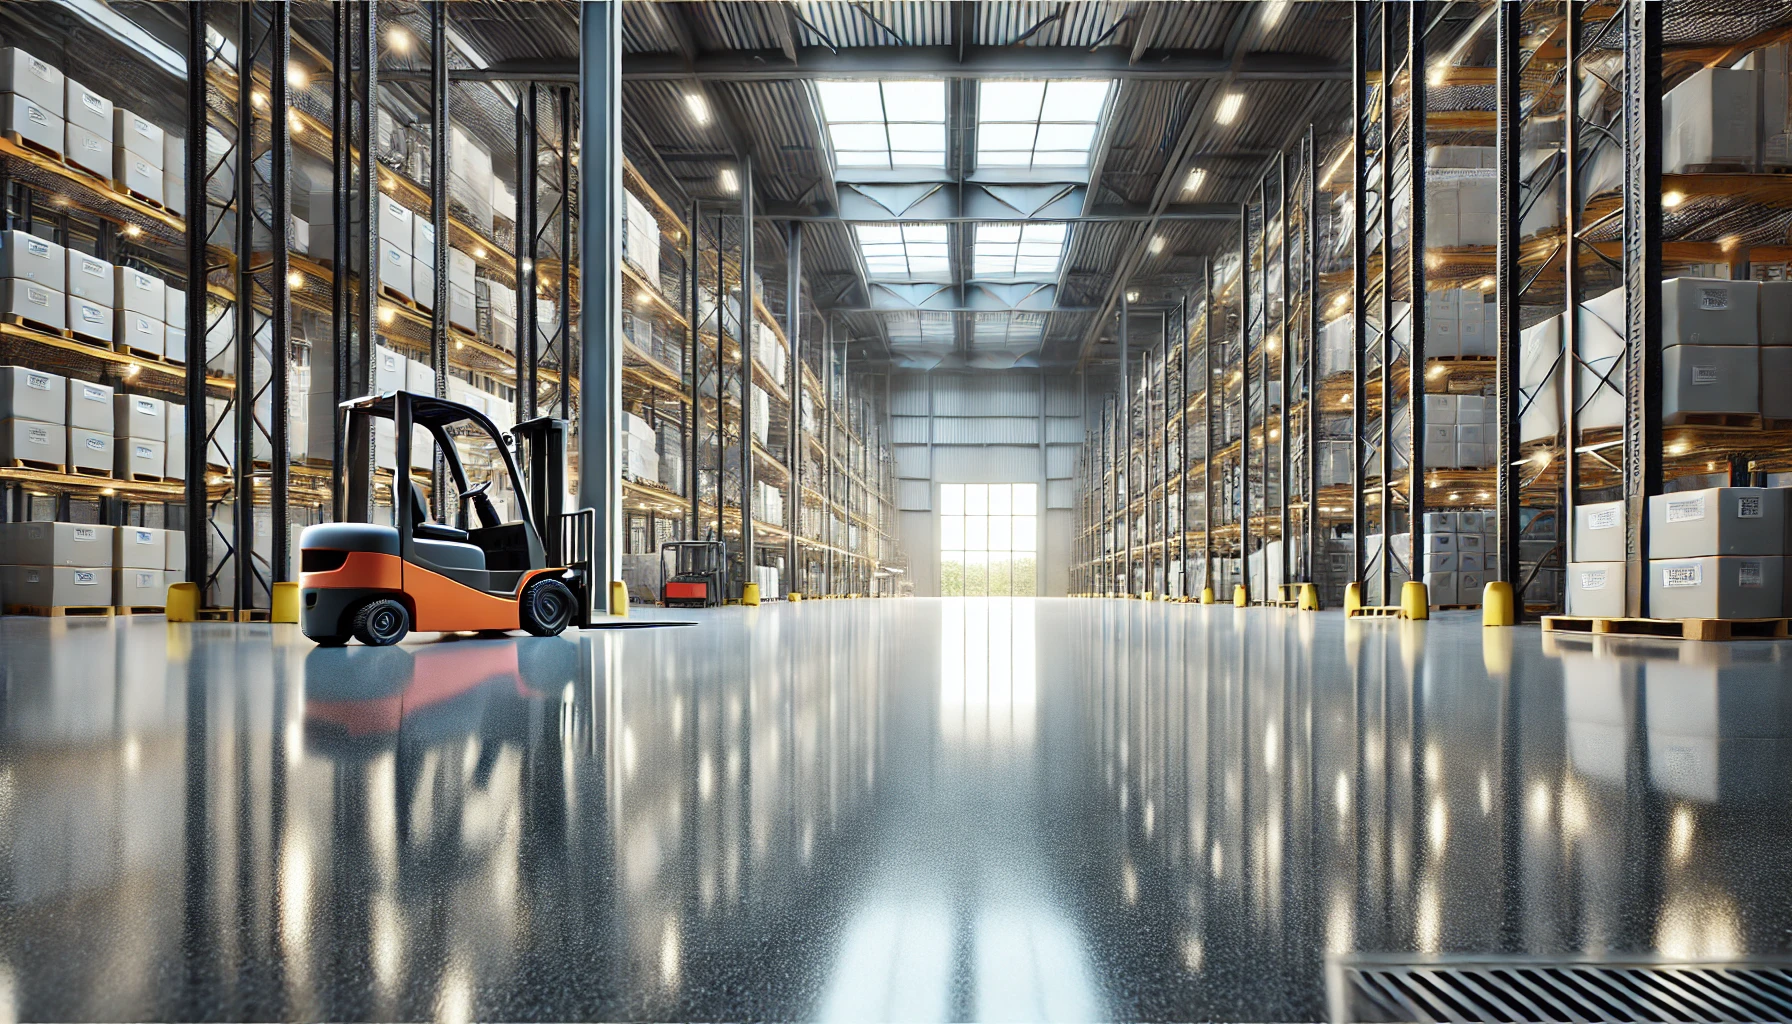
Epoxy flooring is renowned for its durability, aesthetic appeal, and resistance to moisture, grease, and scuffs. It's a favorite for industrial areas, garages, driveways, and workshops. But what many don't realize is that the success of an epoxy flooring project lies in the preparation.
Preparing epoxy for flooring isn't just about mixing a few components. It's a detailed process that requires understanding the types of epoxy, the surface requirements, proper mixing, application techniques, and much more. In this article, we'll delve into these aspects, providing you with a step-by-step tutorial to ensure a smooth and spotless finish.
What You'll Learn
- Understanding Epoxy Flooring: What it is, its benefits, drawbacks, and applications.
- Preparing the Surface: How to clean, prime, and prepare the surface for epoxy.
- Choosing the Right Epoxy: Insights into different types of epoxy and how to choose the right one.
- Mixing and Handling Epoxy: Guidelines for proper mixing and handling.
- Applying Epoxy: A detailed guide to applying epoxy to your flooring.
- Maintenance and Care: Tips for maintaining and caring for your epoxy floors.
- Hiring a Professional: When and how to hire a professional for the job.
So, grab your tools, put on your safety gear, and let's dive into the world of epoxy flooring!
Section 1: Understanding Epoxy Flooring
What is Epoxy Flooring?
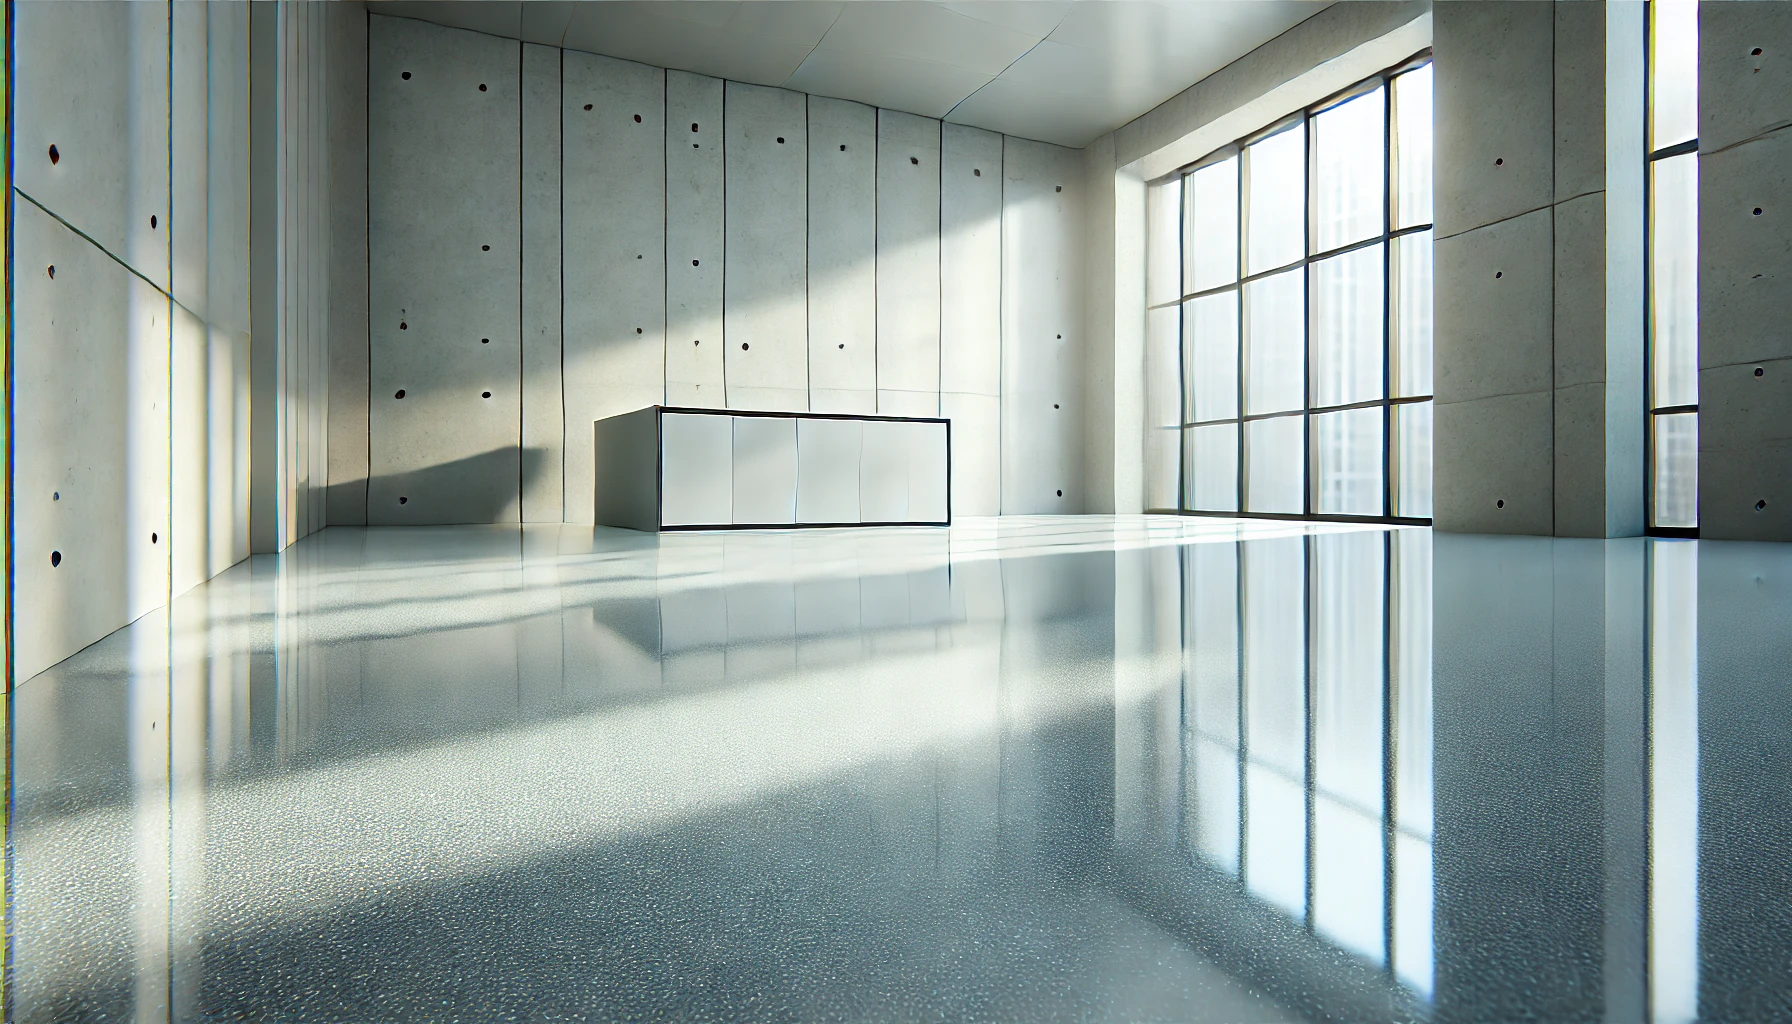
Epoxy flooring is a unique flooring solution that involves applying multiple layers of epoxy—a combination of resins and hardeners—onto a surface. This creates a seamless, durable, and attractive finish that's perfect for various applications.
Benefits
- Durability: Epoxy floors are known for their toughness and can withstand heavy traffic, dropped tools, and spills.
- Aesthetic Appeal: With options for pre-tinted and metallic coatings, epoxy floors can be customized to match any design preference.
- Resistance: Epoxy is resistant to moisture, grease, and scuffs, making it an ideal choice for areas prone to spills and stains.
Drawbacks
- Preparation Time: Epoxy flooring requires significant preparation, including cleaning, patching, and proper mixing.
- Potential Slipperiness: While easy to clean, epoxy floors can be slick when wet. Anti-skid additives can mitigate this issue.
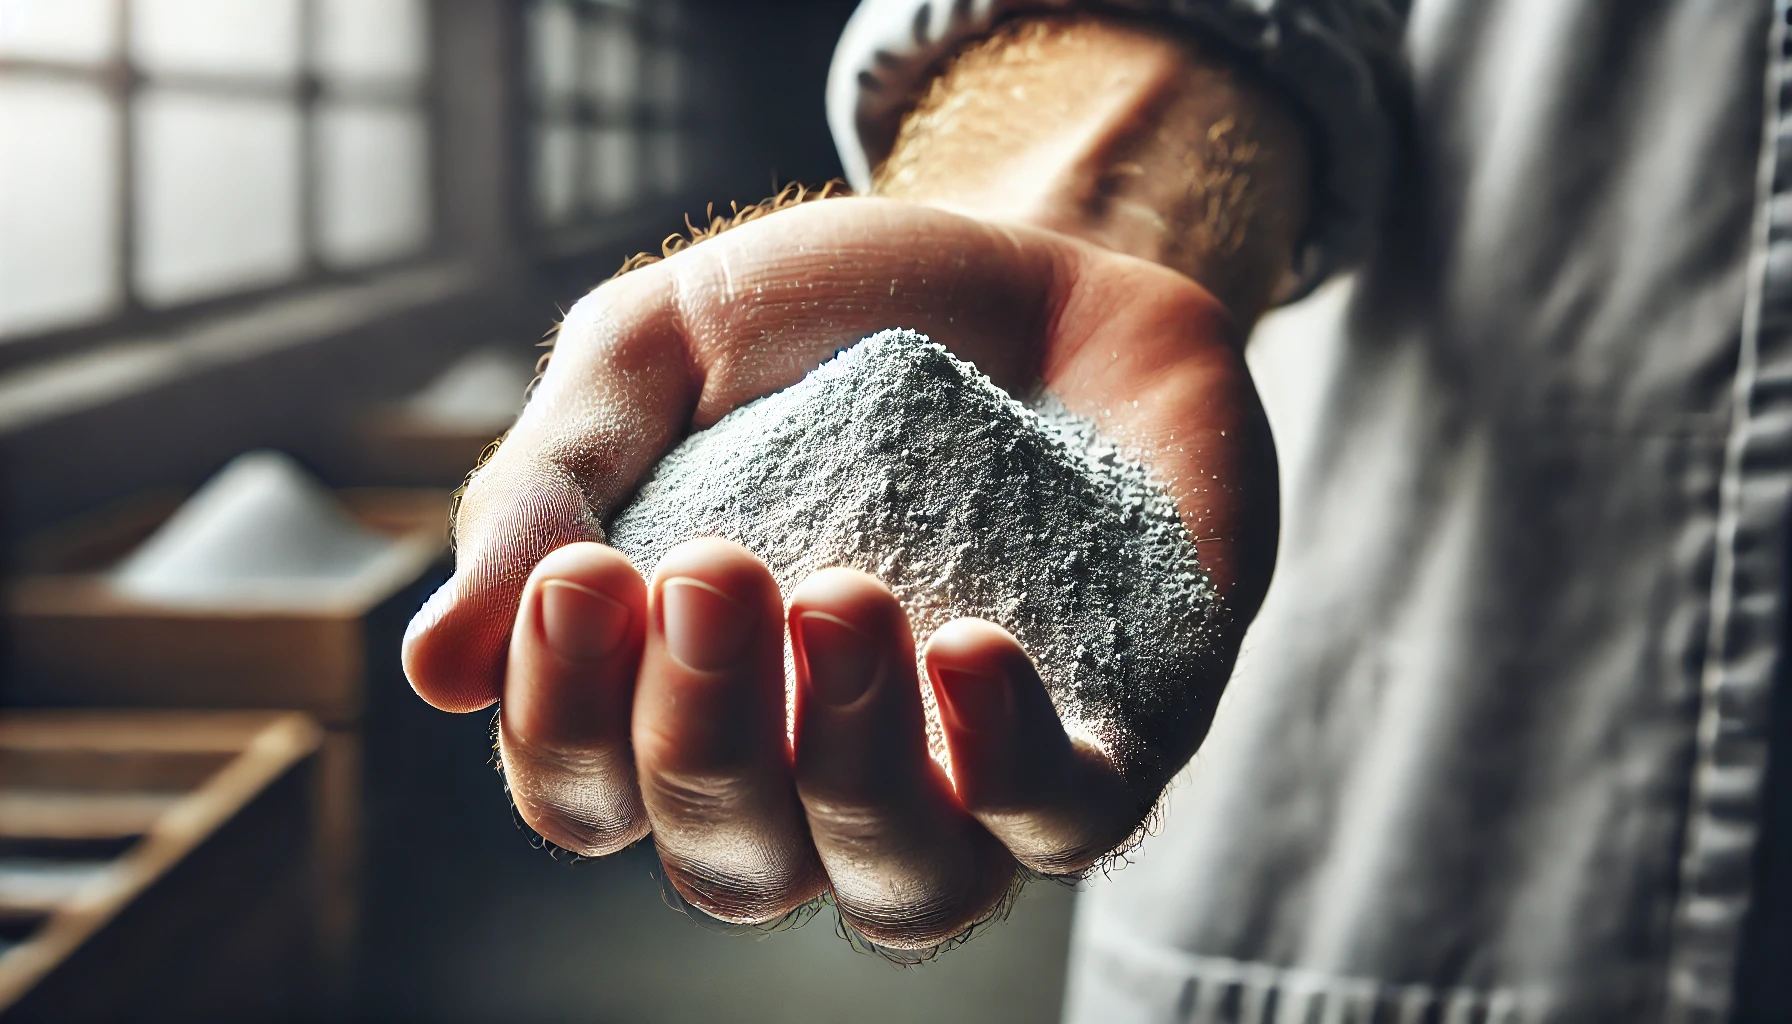
Types of Epoxy
Epoxy flooring comes in various forms, each with its unique characteristics:
- Solid Epoxy: The purest form, hardens rapidly, best applied by professionals.
- Solvent-Base Epoxy: Contains 40-60% solids, penetrates well, available in many colors.
- Water-Base Epoxy: Similar to solvent-based but without hazardous fumes, increasingly popular.
Understanding these types is crucial in choosing the right epoxy for your project. Whether it's a garage, basement, or commercial space, the type of epoxy you choose will significantly impact the final result.
Section 2: Preparing the Surface
The foundation of a successful epoxy flooring project lies in the meticulous preparation of the surface. A well-prepared surface ensures proper adhesion of the epoxy, resulting in a smooth and durable finish. In this section, we'll guide you through the essential steps to prepare the surface for epoxy application.
Cleaning and Priming
Step 1: Assess the Surface
First, you must check for moisture, as epoxy requires a completely dry surface. You can test for moisture using a moisture meter or a simple plastic sheet test. Additionally, you should identify and mark any cracks, holes, or imperfections that need to be addressed.
Step 2: Clean the Surface
Begin by removing debris by sweeping or vacuuming the surface to get rid of dust, dirt, and loose particles. Then, wash the surface using a power washer or a scrub brush with a detergent solution to clean any grease, oil, or stubborn stains.
Step 3: Prime the Surface
Next, you'll need to patch any cracks or holes using a suitable epoxy filler. Sanding the surface helps create a rough texture for better epoxy adhesion, and you can use a floor grinder or a hand grinder for this purpose. After sanding, make sure to clean the surface again to remove any dust.
Removing Oil Stains
Oil stains can prevent epoxy from adhering properly. To tackle them, apply a commercial degreaser to the stain and scrub vigorously. Rinse the area thoroughly with water to remove any residue, and repeat the process if necessary for stubborn stains.
Patching Cracks and Holes
Addressing cracks and holes is essential for a smooth finish. Select an epoxy filler that matches the epoxy flooring you're using. Apply the filler using a putty knife, pressing it into the cracks, and use a trowel to smooth the surface, removing any excess filler. Allow the filler to cure according to the manufacturer's instructions.
Surface Requirements
The surface must meet certain requirements for successful epoxy application. It must be bone dry, as any moisture can lead to poor adhesion. The concrete surface temperature should be at least 55°F, and air temperatures should be between 60-90°F. If you're applying epoxy on new concrete, ensure that it has cured for at least 30 days.
Section 3: Choosing the Right Epoxy
Selecting the right epoxy is a crucial decision in the flooring installation process. The type of epoxy you choose will significantly impact the appearance, durability, and maintenance of the floor. In this section, we'll explore the different types of epoxy and provide guidance on how to choose the one that best fits your project's needs.
Types of Epoxy
Epoxy flooring comes in various forms, each with unique characteristics and applications. Understanding these types will help you make an informed decision.
Solid Epoxy
Solid epoxy is the purest form and hardens very rapidly. It doesn't contain solvents that evaporate, making it a robust choice. However, it can be expensive and difficult to handle, so it's often best applied by professionals.
Solvent-Base Epoxy
Solvent-based epoxies contain 40-60% solids and penetrate the concrete surface well. They adhere excellently and are available in a wide range of colors. Due to the powerful and potentially hazardous solvents, you must wear a respirator when applying this finish and ensure proper ventilation.
Water-Base Epoxy
Water-based epoxies contain 40-60% solids, similar to solvent-based, but without hazardous solvent fumes. These epoxy finishes are sold at most home centers and hardware stores and are becoming increasingly popular alternatives to solvent-based finishes.
Considerations for Choosing the Right Epoxy
When selecting the epoxy for your project, consider the following factors:
- Project Type: Is it a residential garage, commercial space, or industrial area? Different projects may require different types of epoxy.
- Appearance Preferences: Consider the aesthetic you want to achieve. Pre-tinted and metallic epoxy coatings offer stylish options.
- Safety Requirements: If you're concerned about fumes, water-based epoxy might be the best choice.
- Budget Constraints: Solid epoxy might be the most durable, but it's also more expensive. Assess your budget and choose accordingly.
- Professional or DIY: If you're handling the project yourself, you might prefer an option that's easier to work with, like water-based epoxy.
Section 4: Mixing and Handling Epoxy
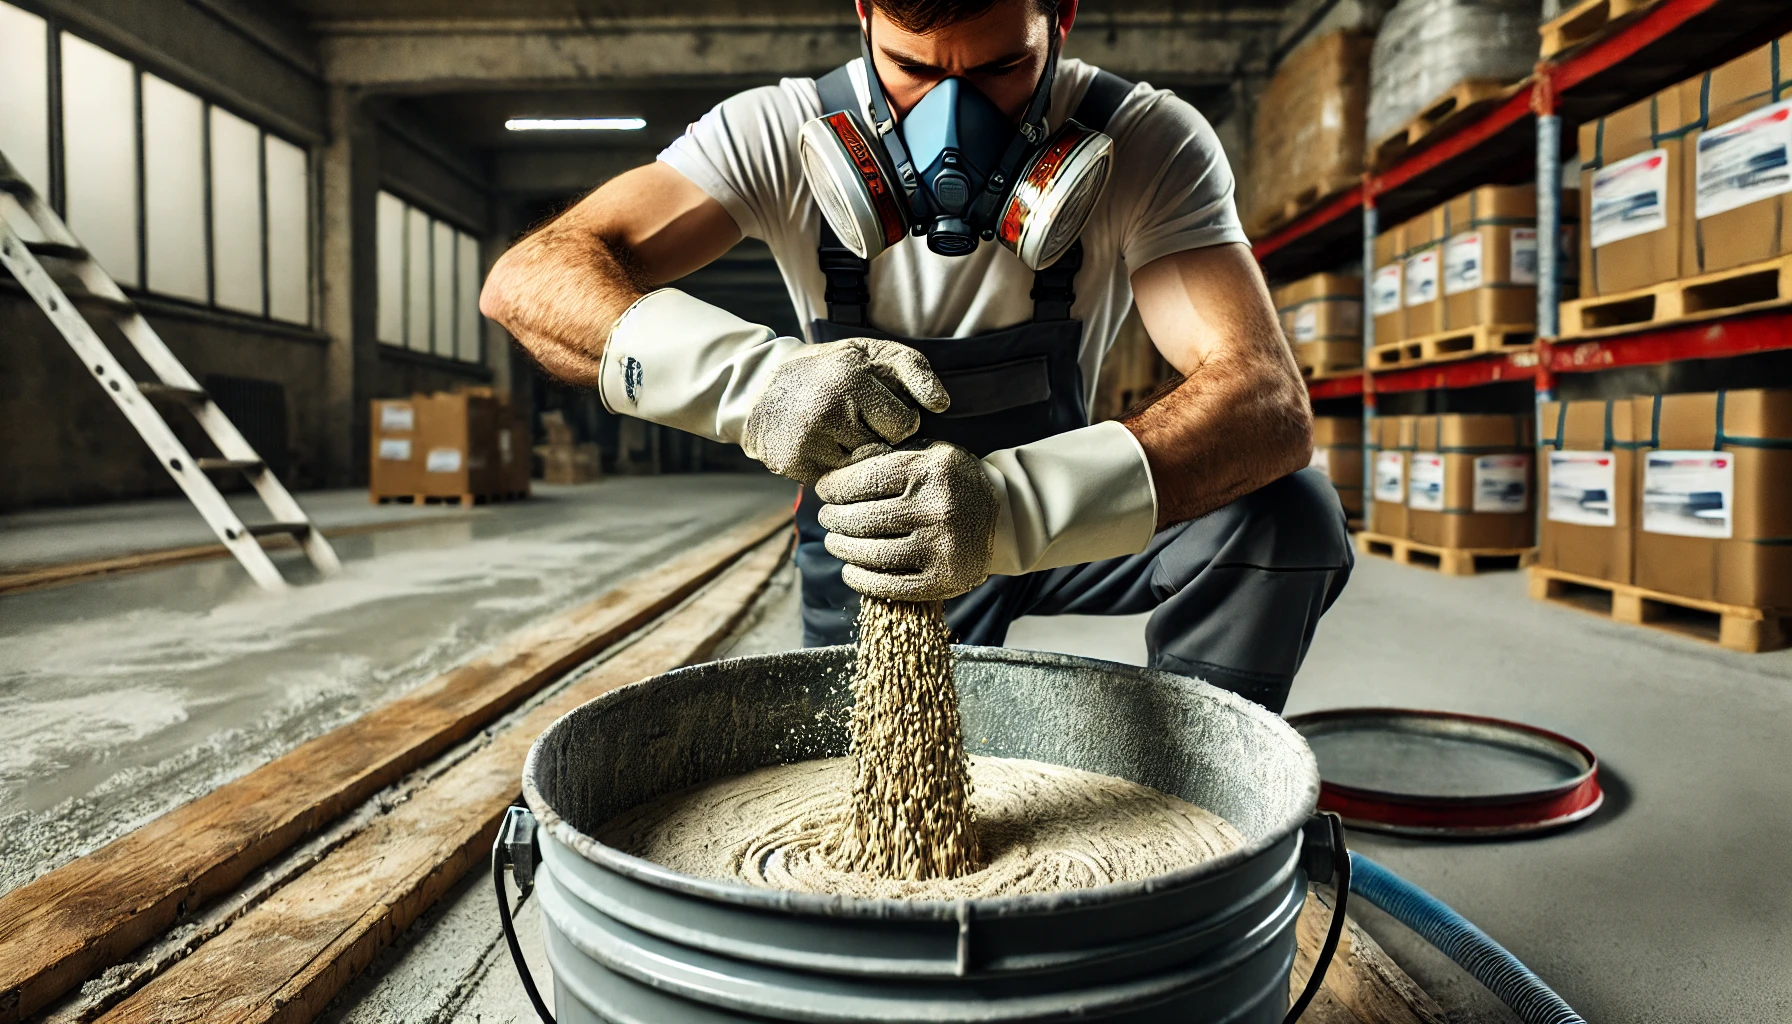
Mixing and handling epoxy is a critical phase that requires precision and care in the flooring installation process. Properly mixed epoxy ensures a smooth application and a durable finish. In this section, we'll guide you through the correct techniques for mixing and handling epoxy, along with the tools and equipment needed.
Proper Mixing Techniques
Step 1: Measure Accurately
First, you must read the instructions, as different epoxies have different mixing ratios, and it's essential to follow the manufacturer's guidelines. Utilize containers with measurement markings to ensure accurate proportions of the resin and hardener.
Step 2: Mix Thoroughly
Next, you'll need to stir the epoxy well using a mixing stick or a drill with a mixing attachment until it's completely blended. Make sure to scrape the sides and bottom of the container to incorporate all the material. It's important to mix slowly to prevent air bubbles, which can cause defects in the finish.
Step 3: Observe Pot Life
Understanding the pot life, which is the time you have to use the epoxy once mixed, is crucial, as epoxy can harden quickly. If you have a large area to cover, consider mixing in smaller batches to avoid wasting material.
Handling Precautions
Handling epoxy requires certain precautions:
- You should wear protective gear such as gloves, goggles, and a respirator if using solvent-based epoxy.
- Work in a well-ventilated area, especially if using solvent-based products, to avoid inhaling fumes.
- Handle the epoxy with care, as it can be sticky and difficult to remove from skin or clothing.
Tools and Equipment Needed
The right tools can make the mixing and handling process more efficient:
- Mixing containers with clear measurement markings will help in accurate proportioning.
- Mixing sticks or drill attachments are necessary for achieving a uniform mix.
- Protective gear, including gloves, goggles, and respirators, will ensure your safety during the process.
Section 5: Applying Epoxy
The application of epoxy to flooring is a transformative process that turns an ordinary surface into a sleek and resilient finish. This process demands careful planning, precision, and adherence to specific techniques. In this section, we will guide you through the detailed process of applying epoxy to your flooring, including essential tips for a smooth application and common mistakes that you should avoid.
Step-by-Step Application Guide
Step 1: Plan Your Approach
First, you must determine the starting point of the application to avoid painting yourself into a corner. If you are working outdoors, make sure to check the weather conditions, as extreme temperatures can affect the curing process.
Step 2: Apply the Primer
Next, you'll need to select a primer that is compatible with your chosen epoxy. Using a roller, apply the primer evenly across the surface and allow it to dry according to the manufacturer's instructions.
Step 3: Mix the Epoxy
Refer to Section 4 for detailed instructions on mixing the epoxy. Ensure that you prepare enough material to cover the entire area without having to stop and mix more.
Step 4: Apply the Epoxy
For the application, you'll need the right tools, such as a squeegee and roller. Start with a thin coat and use the roller to spread it evenly across the surface. It's essential to work quickly but carefully, as epoxy can harden fast.
Step 5: Add Decorative Flakes (Optional)
If you desire, you can add decorative flakes to enhance visual interest. While the epoxy is still wet, sprinkle the flakes evenly across the surface.
Step 6: Apply the Topcoat
Finally, select a topcoat that is compatible with your epoxy and apply it as directed by the manufacturer, following the instructions for application and drying time.
Tips for Smooth Application
To ensure a smooth application, you should prepare the surface well, as outlined in Section 2. Always follow the manufacturer's guidelines and invest in good quality rollers and squeegees for a professional finish.
Common Mistakes to Avoid
Avoid applying the epoxy too thickly, as this can lead to bubbles and an uneven finish. Don't rush the process, and take your time to ensure an even application. Inconsistent mixing can cause color variations and weak spots, so be mindful of this as well.
Section 6: Maintenance and Care of Epoxy Floors
Epoxy floors, while known for their durability and appealing appearance, still require proper maintenance and care. In this section, we will guide you through the essential practices to maintain the beauty and functionality of your epoxy floors, including daily cleaning routines, handling spills, and addressing scratches.
Daily Cleaning
First and foremost, regular sweeping or dust mopping is essential to remove dirt and debris that might scratch the surface. A soft-bristle broom or a microfiber mop is ideal for this task. For a more thorough cleaning, wet mopping the floor with a mild detergent and warm water will effectively remove grime without damaging the epoxy coating.
Weekly or Monthly Maintenance
On a weekly or monthly basis, you may need to scrub the floor using a soft scrub brush or a floor scrubber equipped with a soft pad. This, along with a gentle cleaner, will help remove stubborn stains. After scrubbing, it's crucial to rinse the floor with clean water to eliminate any residue from the cleaning solution.
Handling Spills
Spills should be dealt with promptly to prevent potential staining. You should use a soft cloth or paper towel to wipe up spills as soon as they occur. If a stain persists, cleaning the affected area with a mild detergent and rinsing it with water usually resolves the issue.
Dealing with Scratches
For minor scratches, you must first ensure that the scratched area is clean and dry. Epoxy floor repair kits are available for minor scratch repair, and you should follow the manufacturer's instructions for the best results.
Preventive Measures
To preserve the integrity of your epoxy floors, consider using floor mats at entrances to capture dirt and grit that could scratch the surface. Avoid using cleaners containing harsh chemicals that might damage the epoxy coating. Additionally, using protective pads under heavy furniture or equipment can prevent indentations and preserve the floor's appearance.
Section 7: Troubleshooting Common Epoxy Flooring Problems
Epoxy flooring, while lauded for its durability and visual appeal, can sometimes encounter specific problems. In this section, we will delve into common issues that you might face with epoxy flooring and provide comprehensive solutions to troubleshoot and correct these problems.
Problem 1: Bubbles in the Epoxy
Bubbles forming in the epoxy coating can lead to an uneven surface. This issue often arises from trapped air, excessive mixing, or moisture in the concrete. To rectify this, you should ensure that the surface is completely dry and free of contaminants, and mix the epoxy with care, adhering to the manufacturer's instructions.
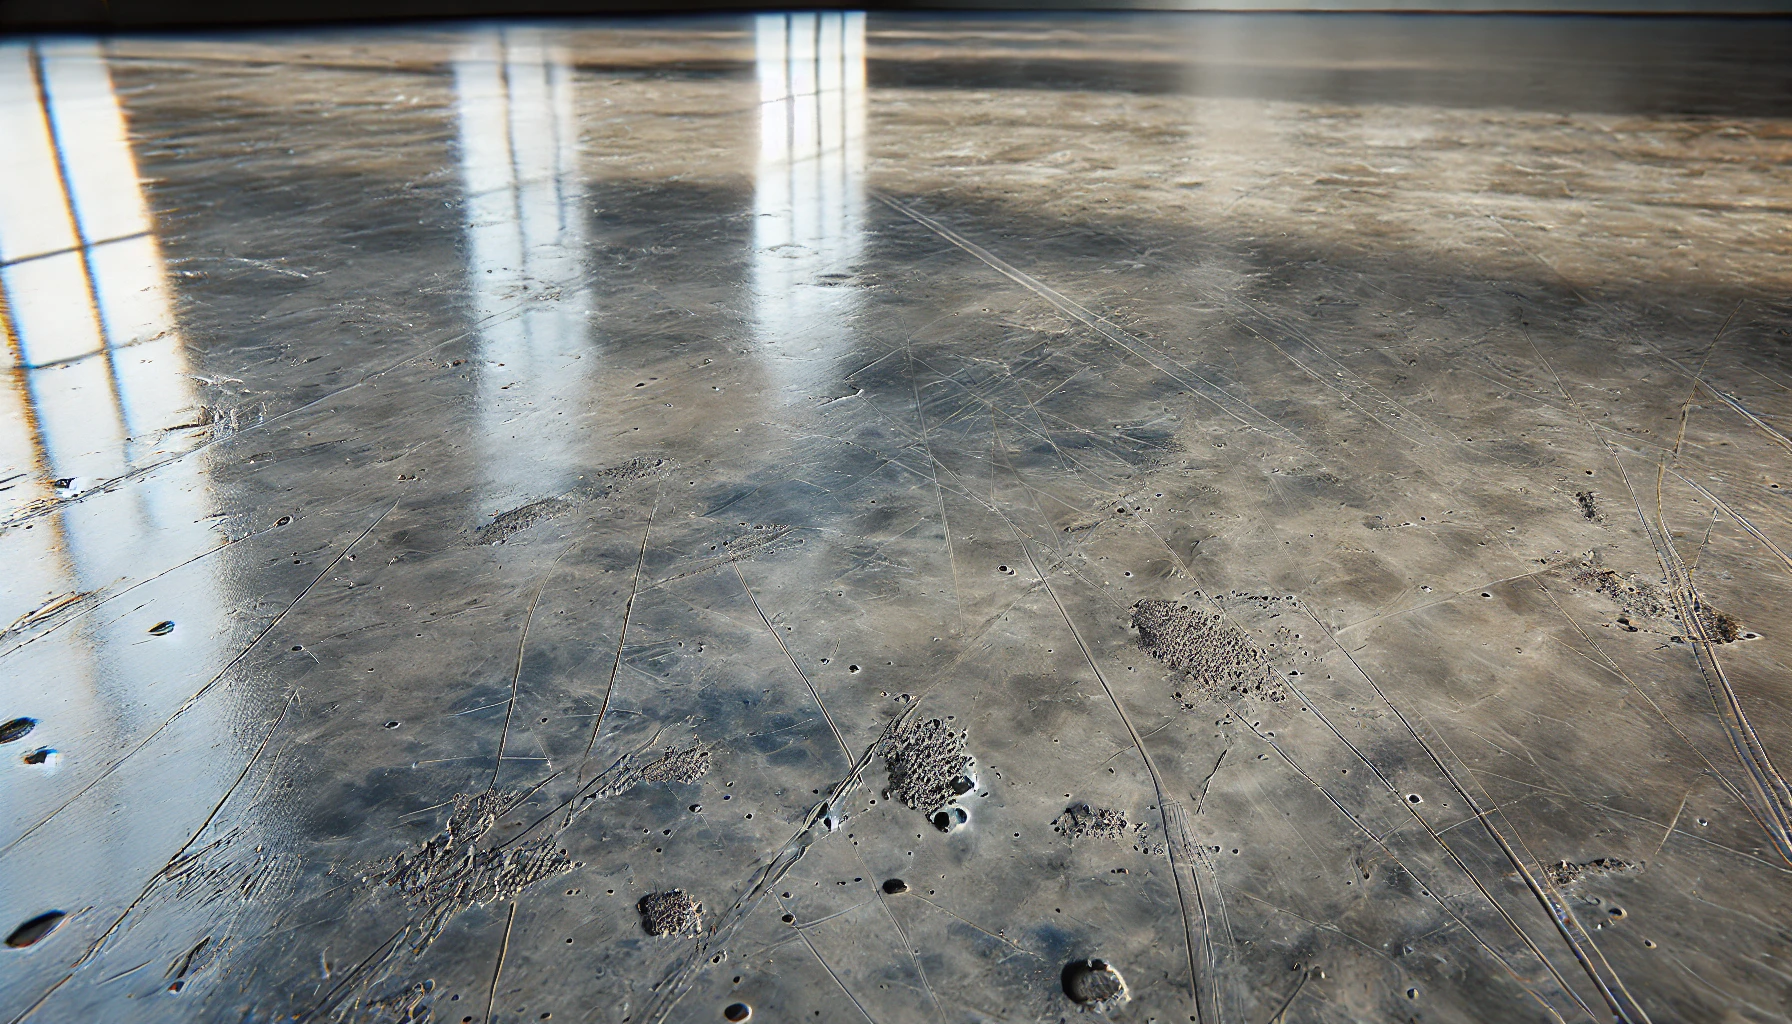
Problem 2: Peeling or Flaking
Peeling or flaking of the epoxy off the surface is usually due to inadequate surface preparation or applying the epoxy to a smooth, unetched surface. The solution lies in properly preparing the surface by cleaning and etching it, as outlined in Section 2 of this guide.
Problem 3: Discoloration
Discoloration or yellowing of the epoxy over time can occur due to exposure to sunlight or the use of a low-quality product. To prevent this, you should opt for a UV-resistant epoxy product or apply a UV-resistant topcoat, and if possible, avoid exposure to direct sunlight.
Problem 4: Incomplete Curing
If the epoxy remains tacky and does not cure completely, it might be due to an incorrect mixing ratio, low temperature, or using outdated epoxy. Following the manufacturer's mixing instructions, ensuring that the temperature is within the recommended range, and using fresh epoxy can solve this problem.
Problem 5: Uneven Thickness
An uneven thickness of the epoxy coating across the surface may result from applying the epoxy unevenly or using incorrect tools. Utilizing the proper tools, such as a notched squeegee, and applying the epoxy in thin, even coats will ensure a uniform thickness.
Problem 6: Scratches and Dents
Scratches or dents on the surface may appear due to heavy traffic, dragging heavy objects, or dropping sharp items. Protective pads under heavy objects and mindfulness of activities that could damage the surface can prevent these issues.
Section 8: Selecting the Right Epoxy Flooring Contractor
The decision to choose the right epoxy flooring contractor is pivotal for the success of your flooring project. A contractor with the right expertise, experience, and dedication will deliver a top-notch finish tailored to your specific requirements. In this section, we will walk you through the essential steps to select the right epoxy flooring contractor, highlighting key factors to consider, vital questions to ask, and warning signs to be aware of.
Key Considerations
When you are in the process of selecting an epoxy flooring contractor, it's crucial to look for a contractor with a proven track record in epoxy flooring. Checking online reviews, testimonials, and asking for references will help you gauge their reputation. Make sure the contractor is licensed and insured to work in your jurisdiction. Reviewing their portfolio will give you a glimpse of their work quality, and obtaining detailed quotes will help you understand what is included in the pricing and what is not.
Questions to Ask
Before finalizing a contractor, it's wise to ask some essential questions such as:
- What experience do you have with epoxy flooring?
- Can you provide references or case studies of previous work?
- What types of epoxy products do you typically use?
- How do you plan to handle unexpected challenges that may arise during the project?
- What is the expected timeline for completion?
- Do you offer any warranties or guarantees on your work?
These questions will provide you with valuable insights into the contractor's capabilities and approach.
Red Flags to Watch Out For
While evaluating potential contractors, be cautious of warning signs such as extremely low quotes, which may indicate low quality or hidden extra costs. A lack of clear communication can lead to misunderstandings and dissatisfaction later on. Always insist on a written contract that clearly outlines the scope of work, pricing, and terms. Be wary of contractors who employ high-pressure sales tactics to force you into quick decisions.
Conclusion
Epoxy flooring has emerged as a versatile and attractive solution for various commercial, industrial, and retail spaces. Its durability, aesthetic appeal, and ease of maintenance make it a popular choice among property owners. In this comprehensive guide, we've covered everything you need to know about epoxy flooring, from preparation and installation to maintenance, troubleshooting, and choosing the right contractor.