How to Epoxy Coat Your Garage Floor | Crystal Clear Epoxy
Transform Your Garage Floor with Epoxy Coating: Step-by-Step Guide
Discover how to elevate your garage with a durable, professional-looking epoxy floor. This guide covers:
- Preparing Your Garage: Clear and clean your space for optimal results.
- Cleaning and Etching: Essential steps for proper epoxy adhesion.
- Repairing Cracks: Ensure a smooth, even surface before application.
- Applying the Epoxy: Detailed instructions for a flawless base coat.
- Adding the Finish: Tips for a protective, aesthetic clear coat.
- Maintenance: Keep your floor looking new with easy upkeep tips.
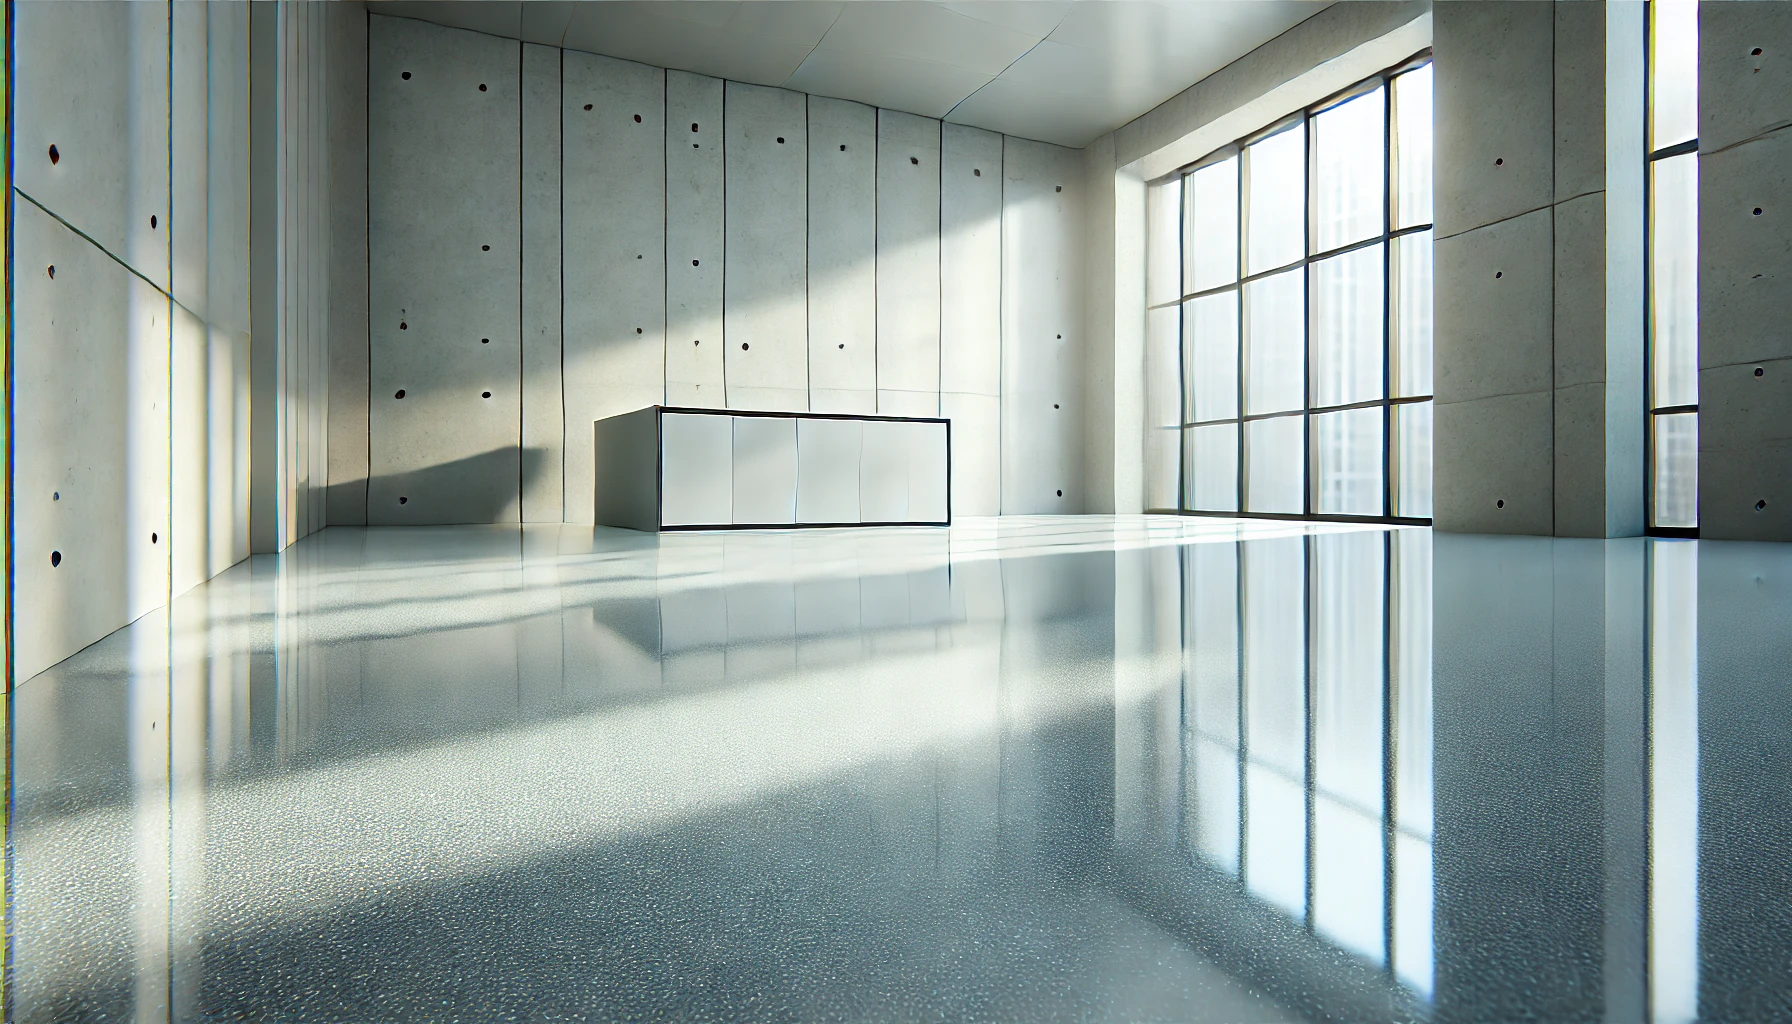
Imagine transforming your old, grimy garage floor into a stunning, professional-looking workspace that not only enhances the aesthetics of your home but also offers unmatched durability. Epoxy coating your garage floor is a game-changer, and with over 30 years in the epoxy flooring industry, I’m here to guide you through every step to achieve a flawless finish.
Epoxy coating provides a sleek, polished look that can withstand heavy use, spills, and the wear and tear of daily activities. Whether you're looking to create a pristine environment for your car, a durable workshop floor, or simply improve your home's value, this guide will provide you with the knowledge and confidence to get the job done right.
Step 1: Preparing Your Garage
Clear the Garage
To start, you need a clean slate. Remove all items from the garage floor, ensuring no obstacles remain that could interfere with the process. This is also a perfect opportunity to declutter and organize your garage space, setting the stage for a smooth and efficient epoxy application.

Dust Removal
Once the garage is empty, use a leaf blower or a broom to remove any dust and debris. A clean surface is crucial for the epoxy to adhere properly. Pay special attention to corners and hard-to-reach areas where dust tends to accumulate.
Moisture Testing
Before proceeding, it's essential to test the concrete for moisture. This can be done using a simple plastic sheet method. Tape a plastic sheet (visqueen) to the floor with duct tape and leave it for 24 hours. If there is any condensation under the plastic, it indicates a moisture issue that must be addressed before applying the epoxy.

Step 2: Cleaning and Etching the Floor
Degreasing
Garage floors often accumulate grease and oil stains, which can prevent epoxy from adhering properly. Use a high-quality degreaser, such as Rust-Oleum Cleaner and Degreaser. Apply it generously and scrub the floor vigorously with a stiff brush. Follow up with a power washer to ensure all residue is removed.
Etching the Concrete
Etching the concrete is a crucial step that helps the epoxy bond with the floor. Apply an etching solution according to the manufacturer’s instructions, scrub it into the surface, and then rinse thoroughly with a power washer. This process creates a textured surface that allows for better epoxy adhesion.

Step 3: Repairing Cracks and Holes
Concrete Repair
Inspect the floor for any cracks or holes and repair them using a concrete repair kit. This step ensures a smooth and even surface for the epoxy application. Follow the instructions on the repair kit and make sure to grind down any repaired areas to match the surrounding floor.

Grinding Rough Areas
After repairing any damage, use a floor grinder to smooth out rough areas and create a uniform surface. This step is crucial for achieving a professional finish.
By meticulously following these preparation steps, you set the foundation for a flawless epoxy coating application. In the next part of this guide, we’ll delve into the mixing and application process, ensuring your garage floor not only looks stunning but also stands the test of time.
Step 4: Applying the Epoxy Coating
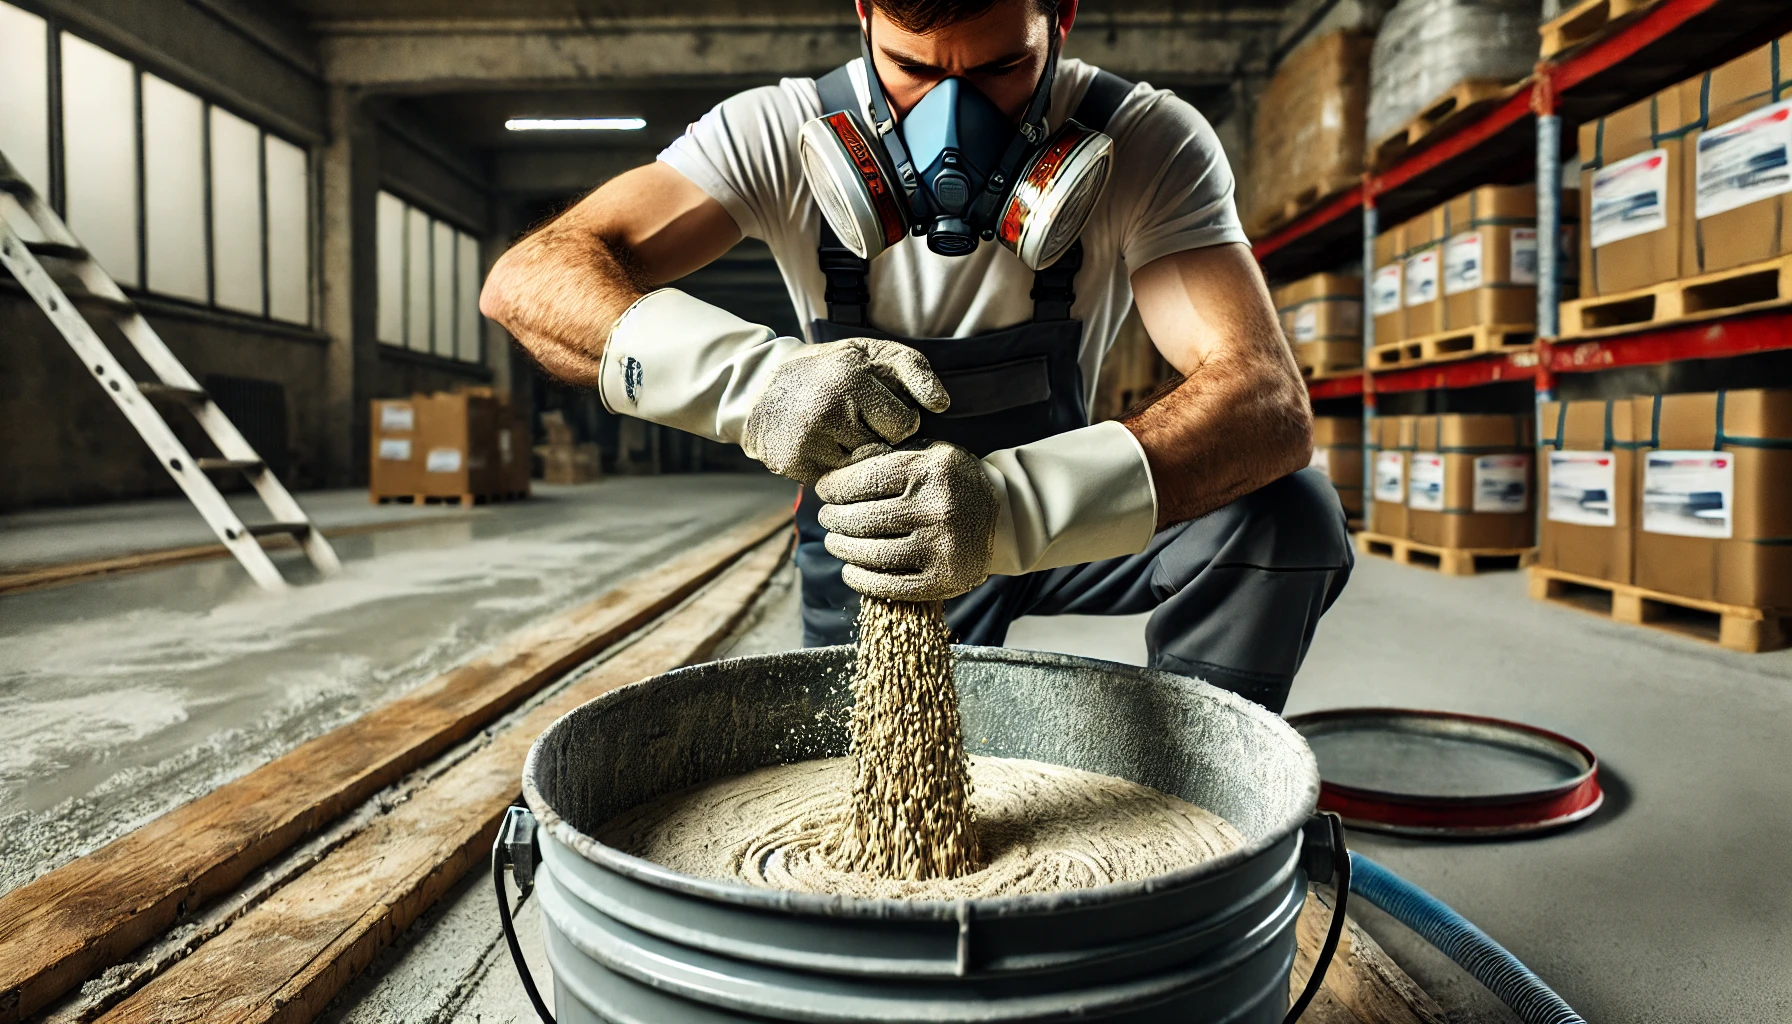
Mixing the Epoxy
Once the floor is prepped and ready, it’s time to mix the epoxy. This step is crucial for achieving a consistent and durable finish. Follow the manufacturer's instructions precisely to ensure the correct ratio of resin to hardener.
- Preparation: Make sure the room is well-ventilated and wear appropriate safety gear, including gloves and a mask.
- Mixing Technique: Use a clean bucket and a mechanical mixer to combine the resin and hardener. Mix thoroughly for the recommended amount of time, usually around 3-5 minutes.
Applying the Base Coat
The base coat is the foundation of your epoxy floor. It’s essential to apply it evenly and thoroughly.
- Tools: Use a flat chip paintbrush for edges and a high-quality roller for larger areas.
- Application: Start at the farthest corner from the exit and work your way towards the door to avoid stepping on the wet epoxy. Maintain a wet edge to prevent lap marks.
- Coverage: Ensure even coverage by rolling the epoxy in multiple directions.

Broadcasting Paint Chips
For added texture and aesthetic appeal, consider broadcasting flake chips onto the wet epoxy.
- Timing: Do this while the base coat is still wet to ensure the chips adhere properly.
- Technique: Sprinkle the chips evenly across the surface. You can use as many or as few as you like, depending on your desired look.
Step 5: Applying the Finish Coat
Adding the Clear Finish
The clear finish coat not only enhances the appearance of your epoxy floor but also provides additional protection.
- Mixing: As with the base coat, mix the clear finish thoroughly.
- Application: Apply the clear coat in the same manner as the base coat, using a roller and maintaining a wet edge. Avoid the anti-skid additive for a smooth, easy-to-clean surface.
Drying and Curing
Proper drying and curing are crucial for the longevity and durability of your epoxy floor.
- Drying Time: Allow the floor to dry for at least 24 hours before walking on it and up to 72 hours before placing heavy items.
- Curing Time: Full curing can take up to 7 days. Avoid any activities that could damage the surface during this time.
Step 6: Maintenance and Long-Term Care
Regular Cleaning
Maintaining your epoxy floor’s pristine condition is straightforward and requires minimal effort. Regular cleaning helps preserve its appearance and durability.
- Sweep the floor regularly to remove dirt and debris. Use a dust mop or a soft-bristle broom.
- For a deeper clean, mop the floor with a mixture of warm water and a mild detergent. Avoid using acidic or abrasive cleaners, which can damage the epoxy surface.
- Promptly clean up any spills to prevent stains. Use a soft cloth and a gentle cleaner for tough spots.
Preventing Damage
While epoxy floors are highly durable, taking some preventive measures can extend their lifespan even further. Use pads under heavy furniture or equipment to prevent scratches. Keep away from harsh chemicals that can cause discoloration or damage. And Finally avoid walking on the floor with cleats or other sharp footwear that can scratch the surface.
Transforming your garage floor with an epoxy coating is a rewarding project that significantly enhances the look and functionality of your space. By following this comprehensive guide, you can achieve a professional, durable, and aesthetically pleasing floor that will serve you well for years to come.
From meticulous preparation and precise application to regular maintenance, each step is crucial for ensuring the longevity and beauty of your epoxy floor. Whether you're using your garage as a workshop, storage space, or parking area, an epoxy floor will elevate its appearance and durability.
Embrace the transformation and enjoy the benefits of a well-finished epoxy garage floor. With over three decades of experience in the industry, I can assure you that the results are well worth the effort.
FAQs About Epoxy Coating Garage Floors
Can I apply epoxy coating to a previously painted floor?
Painted Floor GuideYes, but the existing paint must be thoroughly sanded to create a rough surface for the epoxy to adhere properly. All loose paint should be removed, and the surface must be cleaned and etched if necessary. If you want to learn more click here.
What conditions are ideal for applying epoxy?
ConditionsIdeal conditions include temperatures between 60-90°F (15-32°C) and low humidity. High humidity can affect the curing process and the final finish of the epoxy.
Is epoxy coating slippery when wet?
Epoxy can be slippery when wet, especially if it has a smooth finish. Adding anti-slip additives or paint chips during application can provide better traction.
Can I park my car on an epoxy-coated floor immediately after application?
No, you should wait at least 72 hours before parking a car on the epoxy-coated floor to allow for proper curing. Full curing can take up to 7 days.
What are the main benefits of epoxy coating a garage floor?
Epoxy coatings offer durability, chemical resistance, and a polished look. They protect the concrete from stains, spills, and damage, making maintenance easier and improving the overall appearance of the garage.
Do I need professional help to apply an epoxy coating?
While it is possible to do it yourself, professional help ensures proper preparation and application, which can result in a more durable and aesthetically pleasing finish.
What should I do if the epoxy coating starts to peel or chip?
If the epoxy starts to peel or chip, it may be due to poor surface preparation or improper application. Sand the affected area, clean it thoroughly, and reapply the epoxy according to the manufacturer’s instructions.
How do I choose the right epoxy product for my garage floor?
Consider factors such as durability, chemical resistance, ease of application, and aesthetic preferences. Consulting with a professional or doing thorough research can help you select the best product for your needs.


We provide durable epoxy and polyaspartic flooring for garages, basements, warehouses, and commercial spaces. Serving Toronto, Vaughan, Mississauga, Markham, and beyond, we ensure fast, high-quality installations.
Epoxy Services
Contact us
Business Hours
- Mon - Sun
- -
@ 2025 All Rights Reserved || Crystal Clear Epoxy Inc