Guide to Applying Epoxy Over Painted Concrete Floors
Transforming Your Space: Epoxy Over Painted Concrete
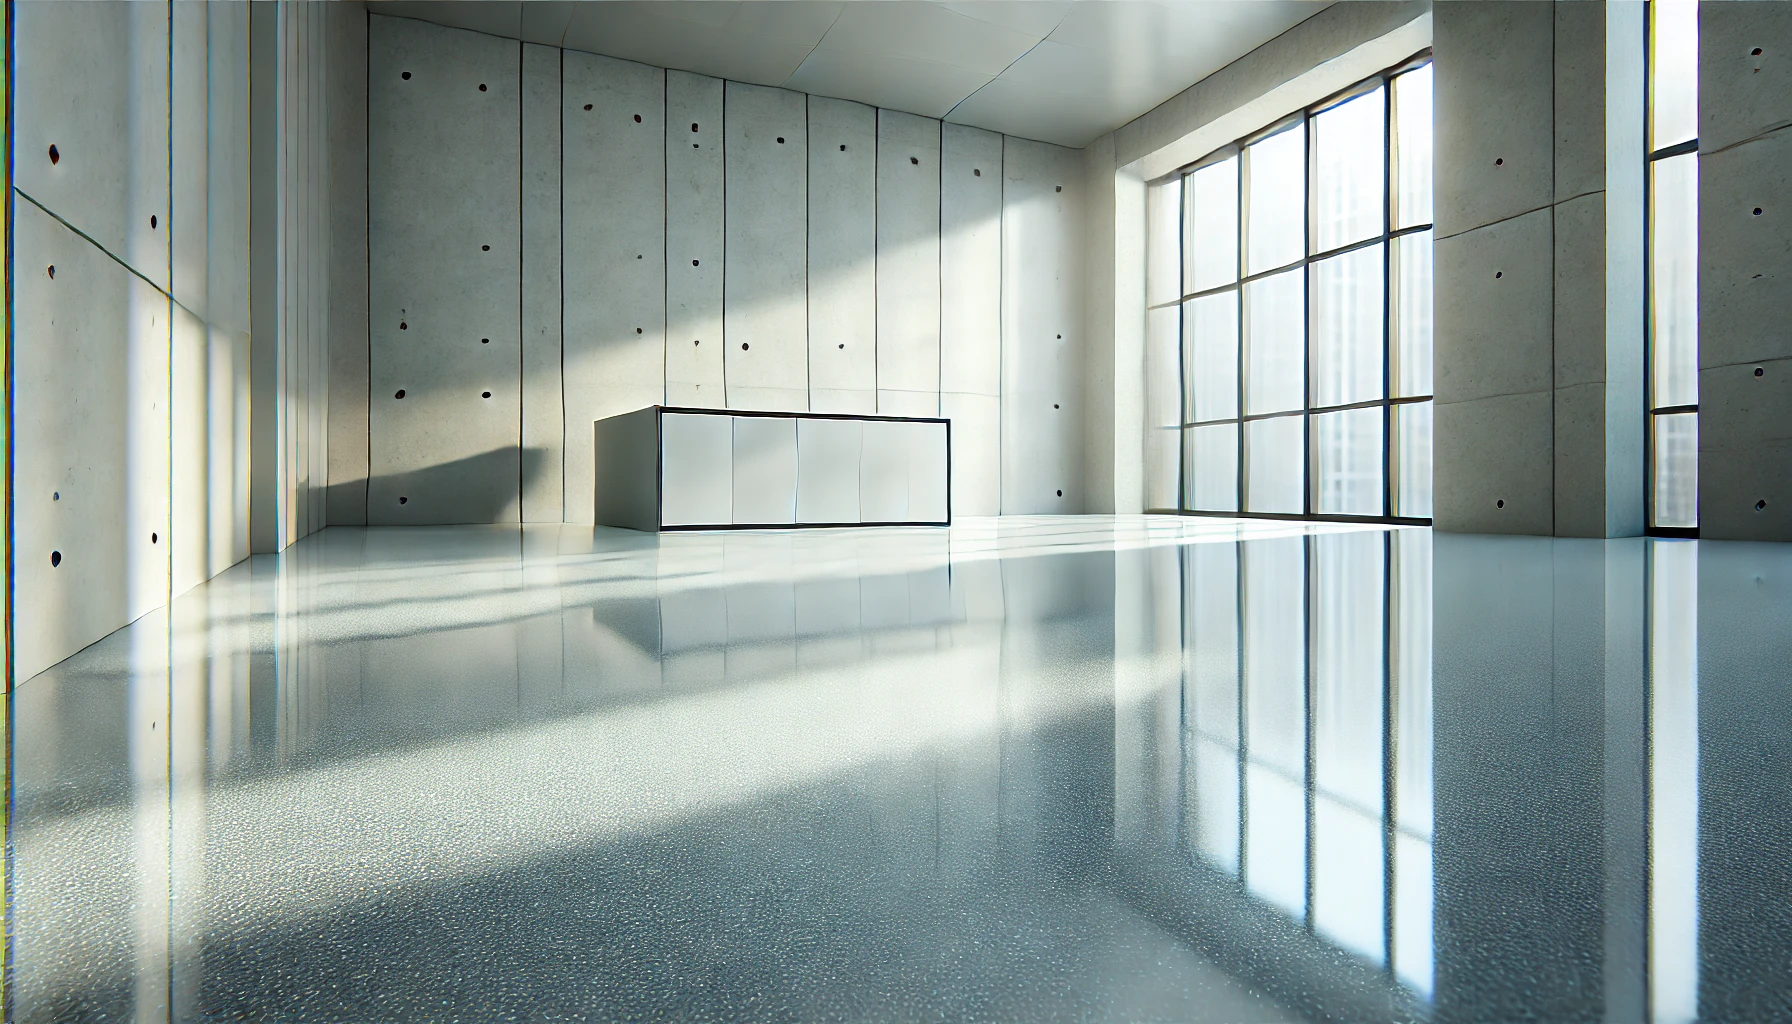
When revitalizing a garage or basement, the existing painted concrete flooring often serves as a canvas for change. Applying epoxy cement flooring offers a robust solution, enhancing durability and aesthetics with minimal disruption.
Preparation is Key
Here's an exact breakdown of the preparation steps:
Cleaning: Start by sweeping the floor thoroughly to extract all loose dirt and waste. Use a high-quality degreaser to embed any oil stains, ensuring the surface is completely clean.
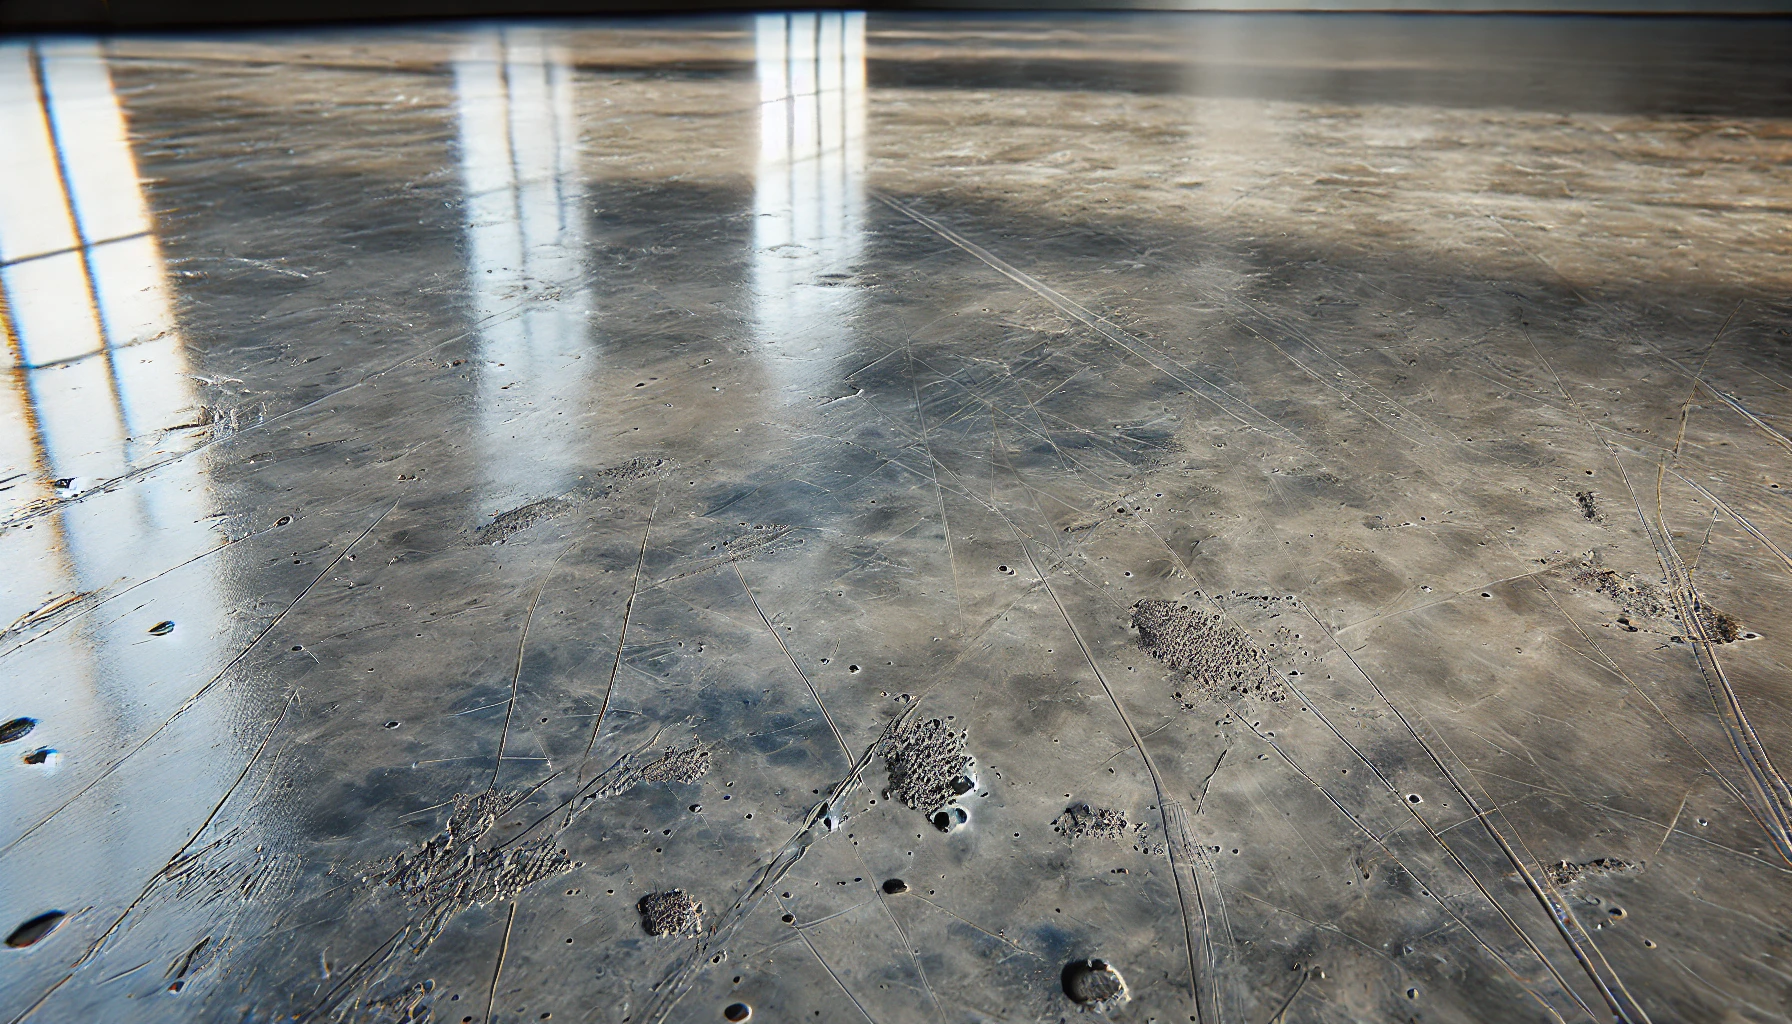
Surface Evaluation: Inspect the existing paint for any signs of peeling or flaking. If you find compromised paint, scrape it off to prevent future issues with your epoxy coating.
Repairing Cracks: Address any cracks or gaps in the concrete. Fill them with a concrete patching compound and let them dry according to the product instructions.
Smoothing the Surface: Sand the painted surface lightly to create a texture that improves the epoxy's ability to bond. This step is vital for ensuring a grip between the old paint and the new epoxy layer.
Final Cleansing: After sanding, vacuum up all dust and wipe down the area with a damp cloth to capture any remaining particles. Ensure the floor is completely dry before proceeding to the epoxy application.
Application Techniques
Applying epoxy over painted concrete does not merely change the floor's appearance; it reinforces the surface against wear and chemical spills. The process involves combining the epoxy solution according to manufacturer specifications and then spreading it evenly across the surface using rollers or squeegees. This method helps achieve a glossy finish that transforms the look and feel of the room.
Curing and Results
After application, the epoxy needs time to cure, a period during which it achieves its renowned hardness and resilience. The result is a seamless, shiny surface that significantly enhances the area's functionality and style.
At Crystal Clear Epoxies, we understand the importance of precision in transforming your spaces. Our high-quality epoxy solutions promise not only to meet but exceed your flooring needs. Visit us today to see how we can make your floors shine with lasting beauty and durability.
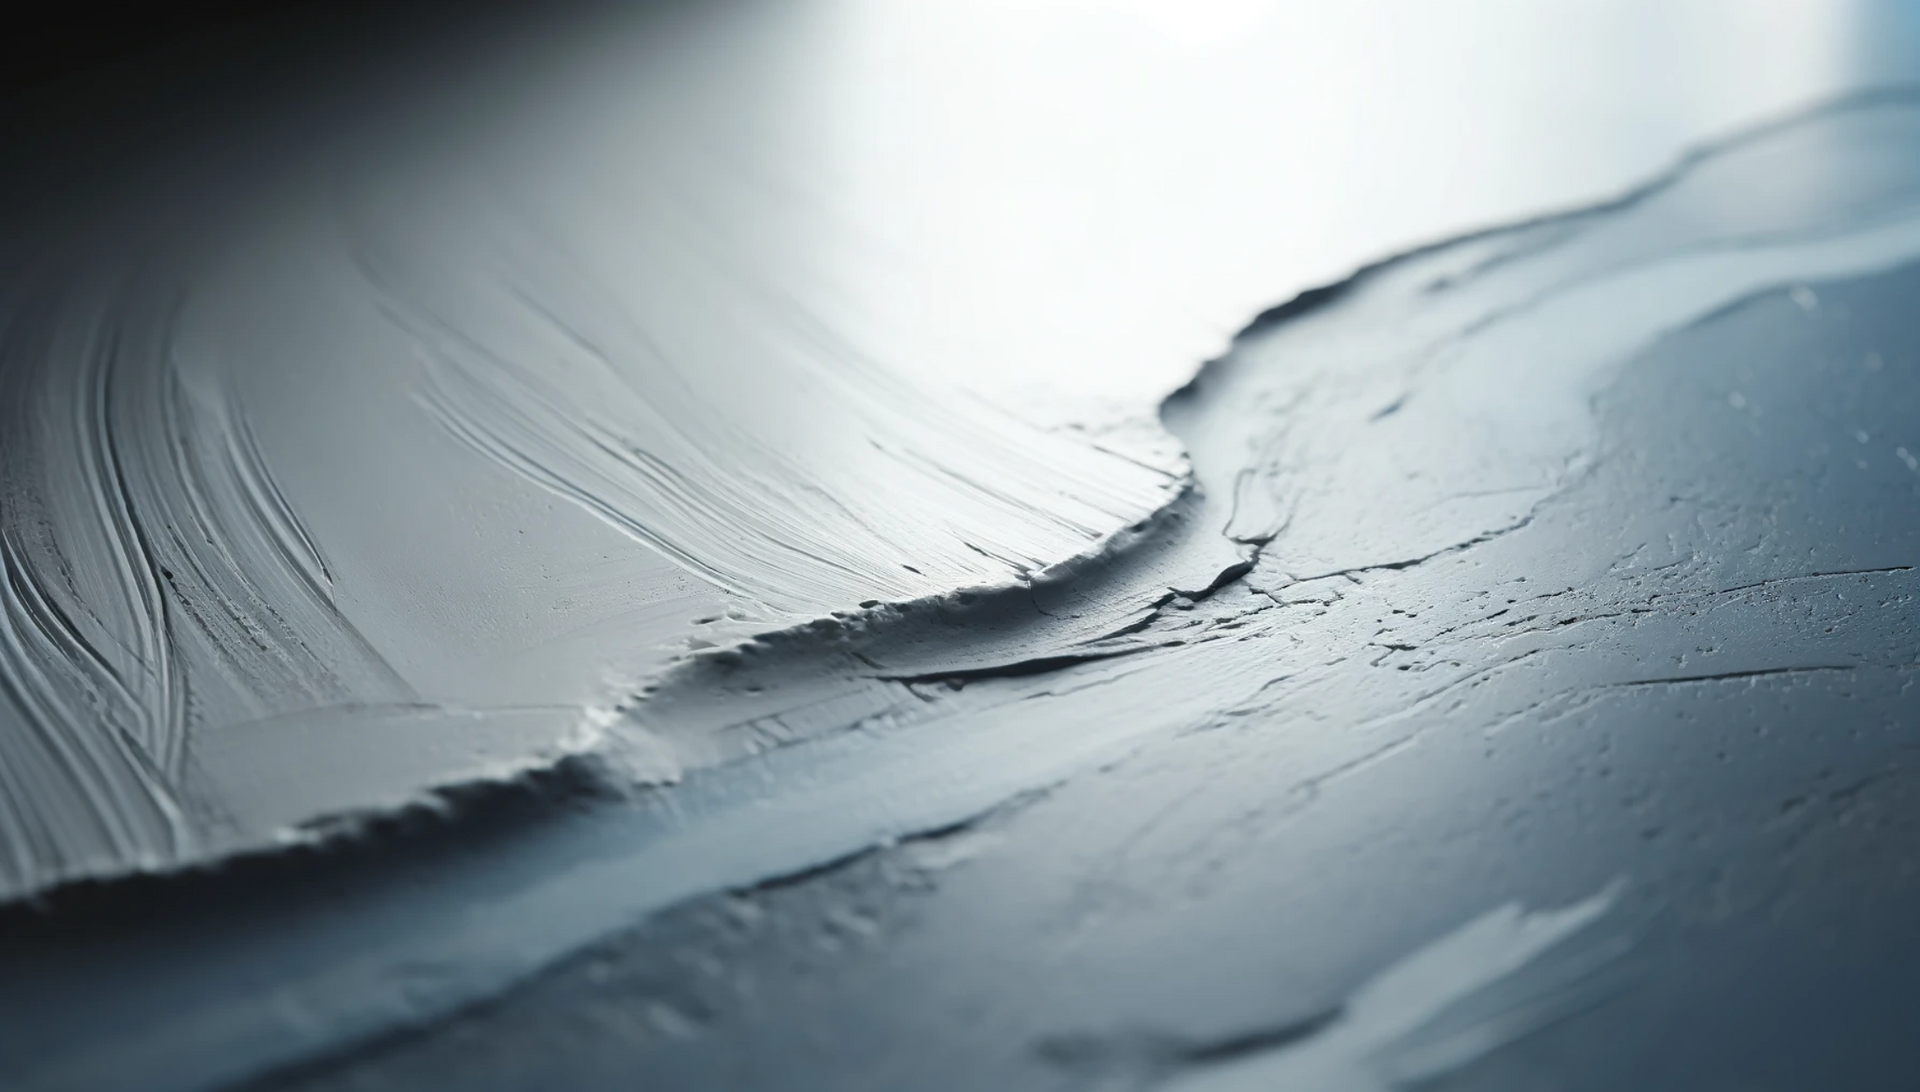
Initial Preparation
Importance of a Clean Surface
The foundation of any successful epoxy flooring project is a meticulously cleaned surface. Any dirt, grease, or loose paint can interfere with the adhesion of the epoxy, leading to peeling and other issues down the line. Ensuring your concrete floor is spotless is the first step toward achieving a durable and professional finish.
Steps for Removing Loose Paint and Debris
- Sweeping and Vacuuming: Start by thoroughly sweeping the floor to remove any loose dirt and debris. Follow this with a vacuum to pick up finer particles.
- Degreasing: Use a degreaser to clean any oily or greasy spots. This is especially important in garages and workshops where automotive fluids might have spilled.
- Power Washing: For heavily soiled floors, a power washer can be very effective. Ensure the floor is completely dry before proceeding to the next steps.
- Scraping: Use a paint scraper to remove any loose or peeling paint. This step is crucial as any poorly adhered paint will compromise the epoxy layer.
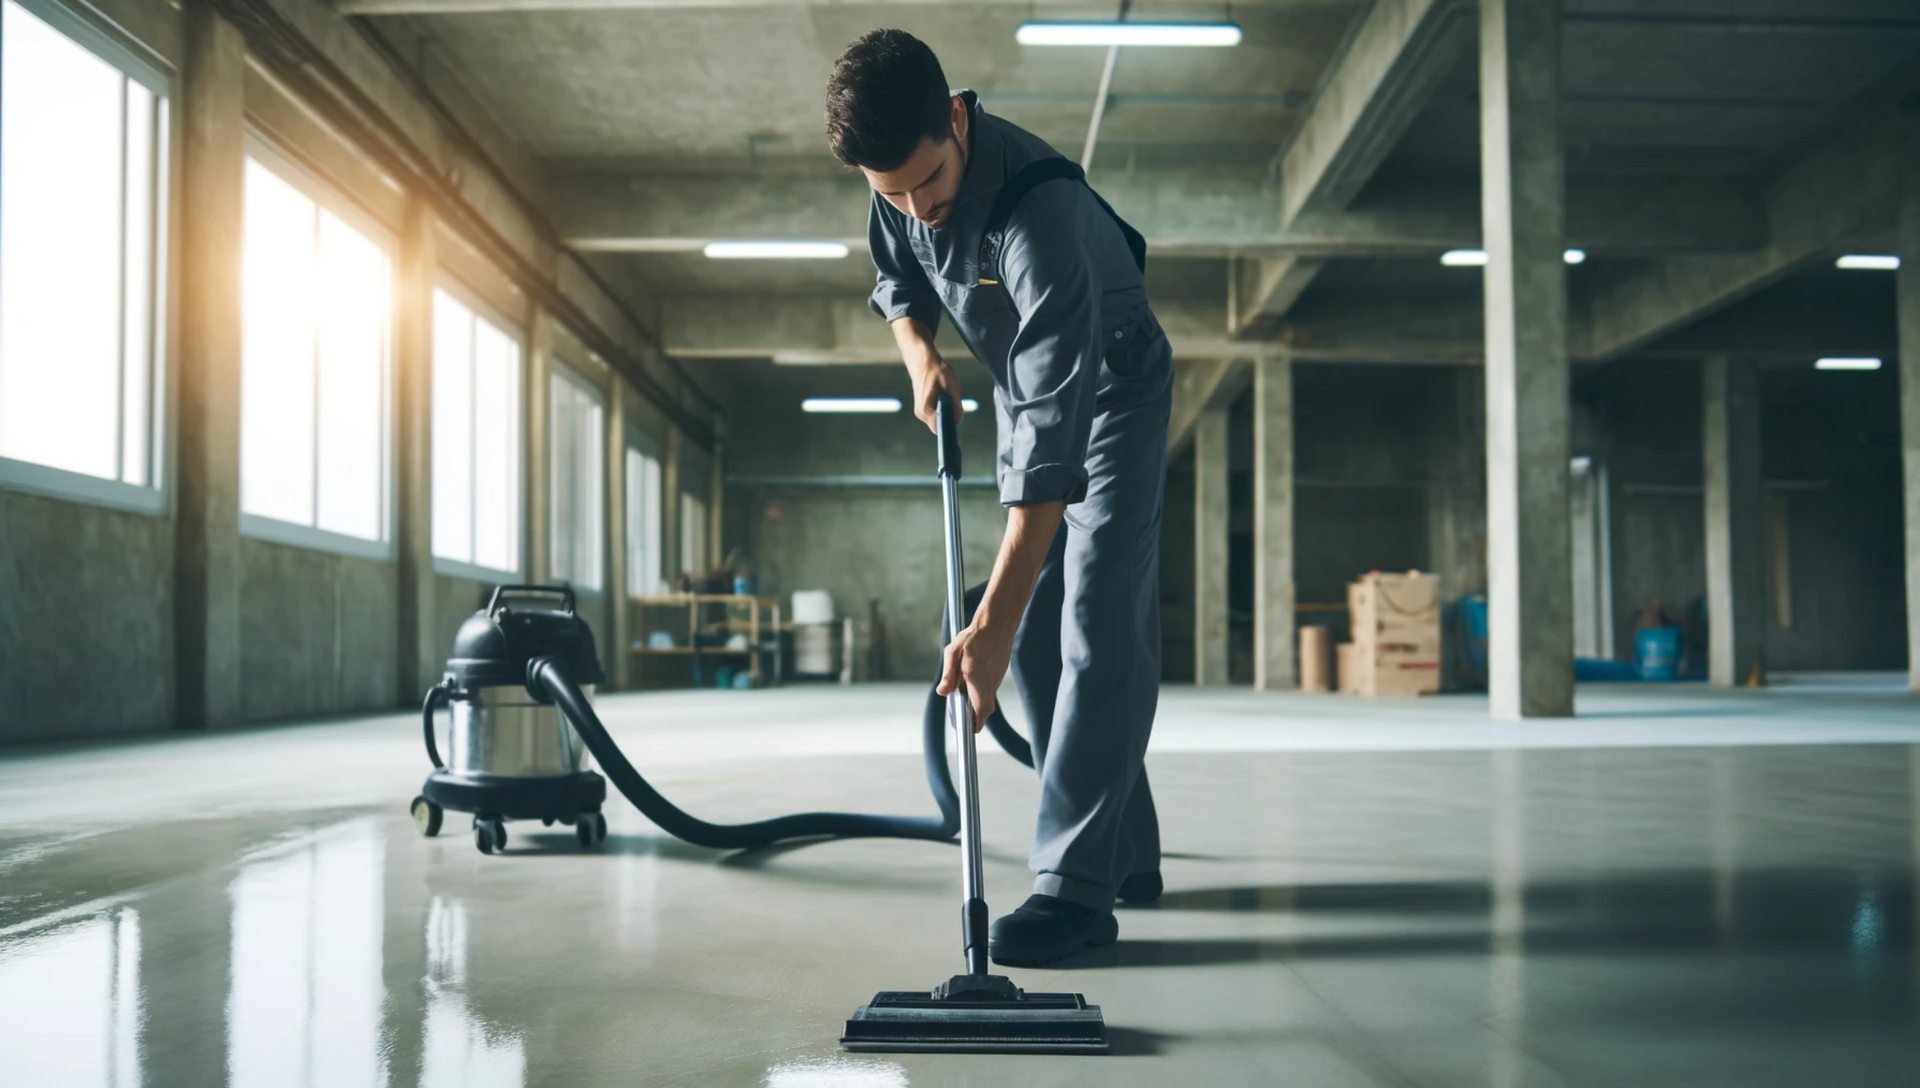
Importance of Surface Preparation
Beyond cleaning, preparing the surface ensures that the epoxy adheres properly. This involves etching, sanding, and filling any cracks or holes.
Etching the Concrete
Etching opens up the pores of the concrete, allowing the epoxy to penetrate and bond effectively. Without etching, the epoxy might not adhere properly, leading to peeling and bubbling.
How to Apply Etching Solution
Use an acid-based etching solution, following the manufacturer’s instructions. Apply it evenly across the floor, scrub with a stiff brush, and rinse thoroughly. Allow the floor to dry completely before proceeding.
Sanding the Surface
Lightly sand the entire surface to ensure it is smooth and even. This also helps in removing any remaining loose paint and creates a better bonding surface for the epoxy.
Tools Needed
Use a floor sander with medium-grit sandpaper for best results. Make sure to wear a mask and goggles to protect yourself from dust.
Filling Cracks and Holes
Use a high-quality concrete filler or patch compound.
Application
Fill all cracks and holes, smooth out with a trowel, and allow to dry according to the manufacturer’s instructions. Sand the patched areas to ensure they are level with the rest of the floor.
Surface Preparation
Detailed Steps for Etching the Concrete
Etching is a critical step in preparing your concrete floor for epoxy coating. It involves using an acid solution to open the concrete's pores, ensuring better adhesion of the epoxy.
Why is Etching Necessary?
Etching creates a rough texture on the surface of the concrete, allowing the epoxy to bond more effectively. Without this step, the epoxy might not adhere properly, leading to potential peeling and bubbling over time.
How to Apply Etching Solution
- You will need an acid-based etching solution, a stiff brush, protective gear (gloves, goggles, mask), and plenty of clean water.
- Application Process:
- Mix the etching solution according to the manufacturer's instructions.
- Apply the solution evenly across the floor using a watering can or a similar container.
- Scrub the floor with a stiff brush to ensure the solution penetrates deeply.
- Allow the solution to sit for the recommended time.
- Rinse thoroughly with clean water and let the floor dry completely.
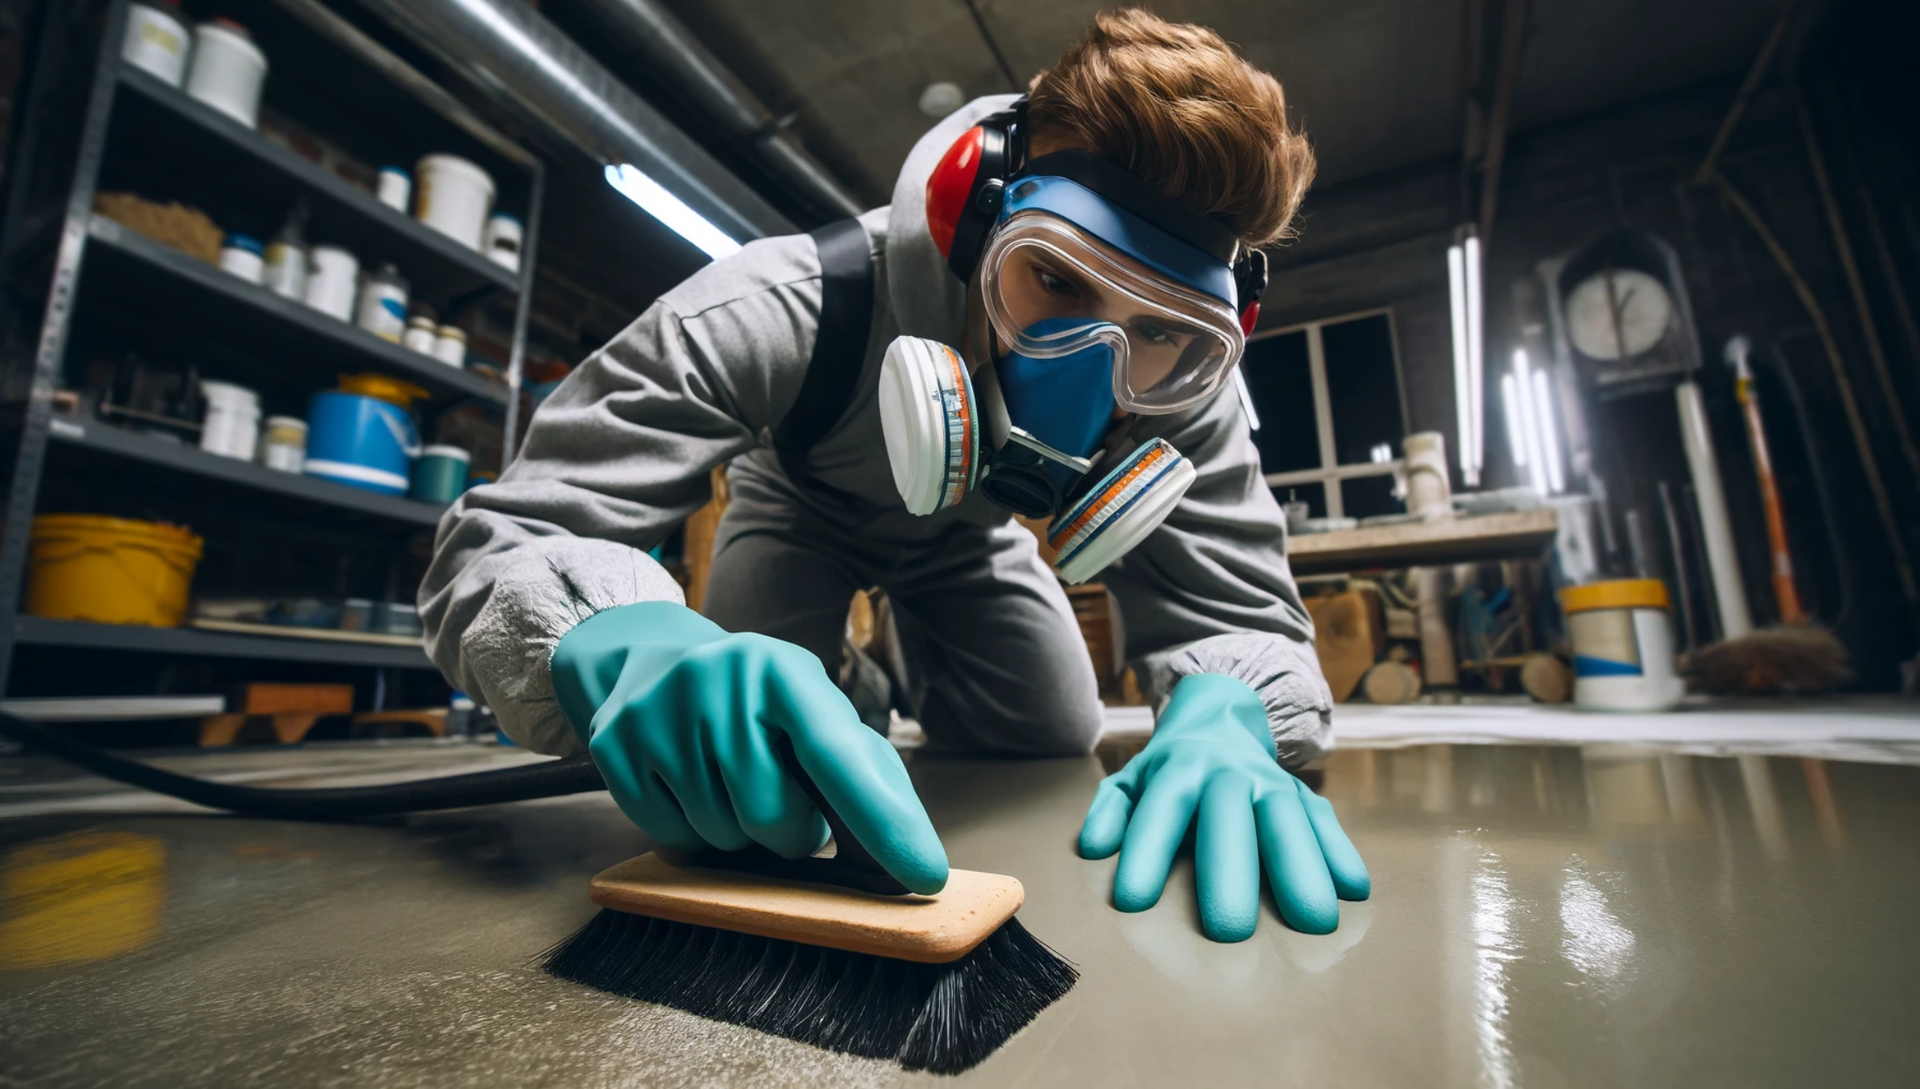
By meticulously following these steps, you prepare your floor for the epoxy application, ensuring a durable and aesthetically pleasing result. Proper surface preparation cannot be overstated as it sets the foundation for the entire project.
Compatibility and Priming
How to Determine if the Existing Paint is Compatible with Epoxy
Before proceeding with the epoxy application, it’s essential to ensure that the existing paint on your concrete floor is compatible with the epoxy. This step prevents potential adhesion issues and ensures a long-lasting finish.
Test for Compatibility
- Water Test: Sprinkle a few drops of water on the painted surface. If the water beads up, the paint is likely oil-based; if it soaks in, it’s water-based.
- Adhesion Test: Apply a small amount of epoxy to a test area and let it cure. Check for any signs of peeling or poor adhesion.
Priming the Surface if Necessary
If your existing paint is oil-based or if the adhesion test shows poor results, you’ll need to apply a primer to ensure the epoxy adheres properly.
Types of Primers to Use
Epoxy Primer: Best for ensuring a strong bond between the old paint and the new epoxy layer.
Polyurethane Primer: Suitable for oil-based paints and provides excellent adhesion.
Application
Preparation: Clean the surface thoroughly and let it dry.
Applying Primer: Use a roller or brush to apply a thin, even layer of primer. Follow the manufacturer’s instructions for drying time and curing.
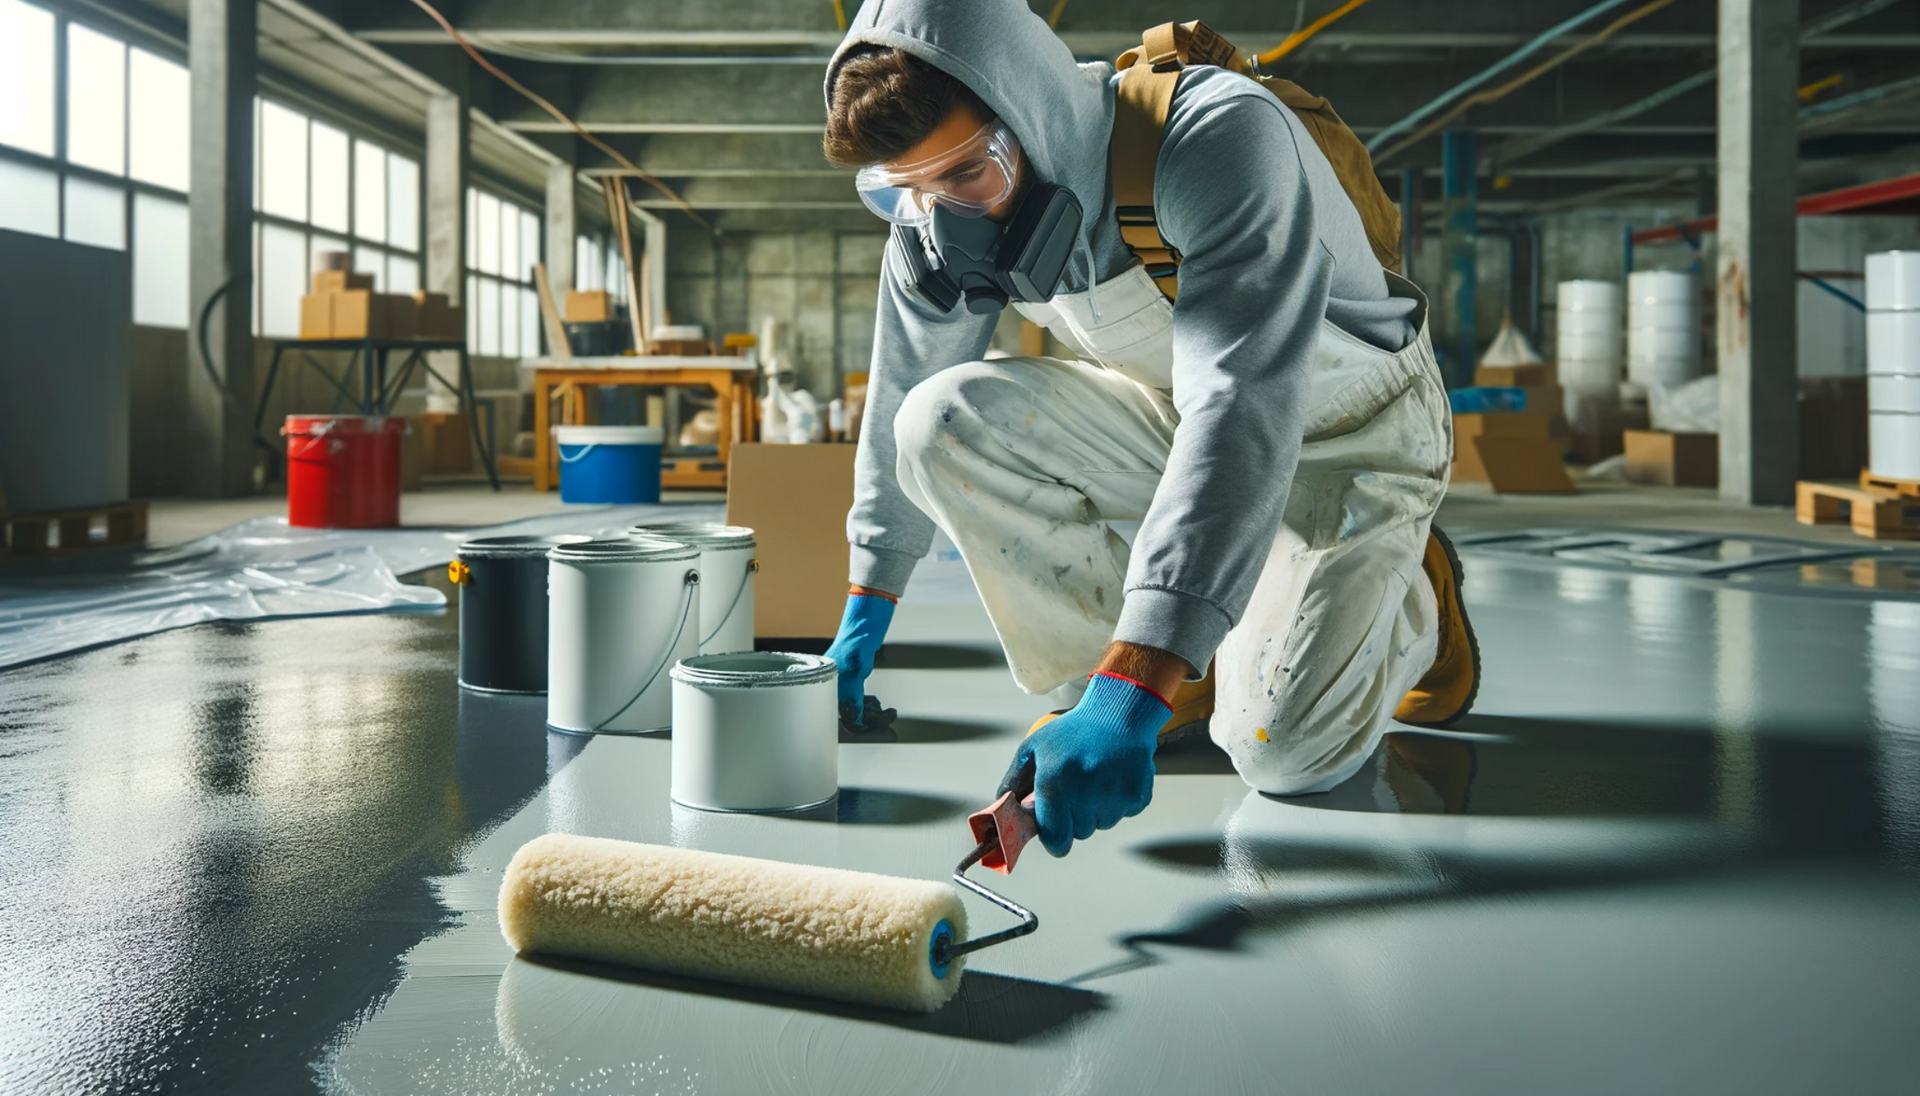
Proper priming is especially important for surfaces with oil-based paint or poor initial adhesion.
Applying Epoxy Over Painted Floors
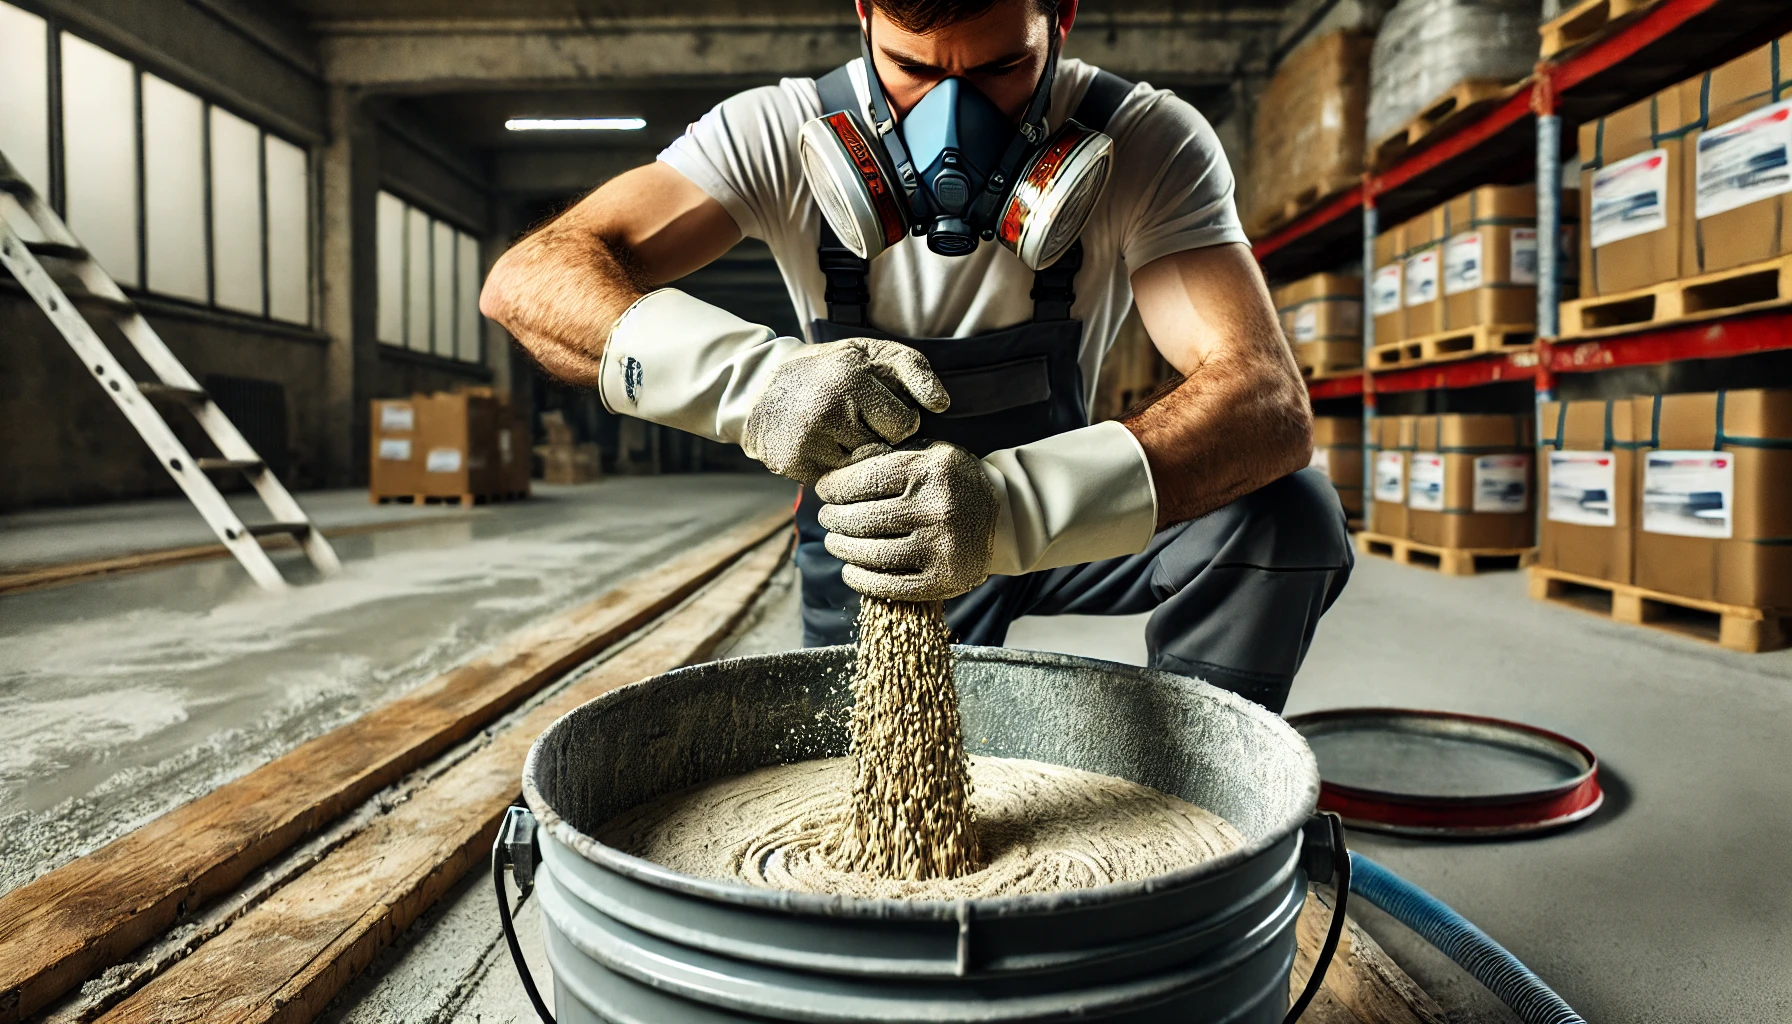
Mixing the Epoxy
Proper mixing is essential to ensure the epoxy cures correctly and provides a durable finish. Follow these steps for optimal results:
- Proper Mixing:
- Ensures even distribution of the hardener and resin.
- Prevents curing issues and ensures a smooth, consistent finish.
- Tools Needed:
- Epoxy resin and hardener.
- Mixing bucket and paddle mixer.
- Mixing Process:
- Pour the resin and hardener into the mixing bucket in the correct ratio as per the manufacturer’s instructions.
- Use a paddle mixer to blend the components thoroughly for the recommended time.
Applying the Epoxy
- First Coat Application:
- Tools Needed: Roller, brush, and paint tray.
- Application: Pour the mixed epoxy onto the floor and spread it evenly using a roller. Use a brush for edges and corners.
- Technique: Work in small sections to ensure even coverage and prevent the epoxy from curing too quickly.
- Curing Time and Conditions:
- Optimal Conditions: Maintain the room temperature and humidity as recommended by the epoxy manufacturer.
- Drying Time: Allow the first coat to cure completely, which typically takes 24 hours, depending on the product and conditions.
- Applying the Second Coat for Durability:
- Preparation: Lightly sand the first coat to remove any imperfections and ensure a smooth surface.
- Application: Apply the second coat in the same manner as the first, ensuring even coverage.
Following these detailed steps ensures a professional-quality epoxy floor that is durable and visually appealing. Proper mixing, application, and curing are crucial for achieving the best results.
Post-Application Care
Curing Time and Maintaining Optimal Conditions
After applying the epoxy, proper curing is essential for achieving a durable and resilient finish. Follow these guidelines to ensure the best results.
Curing Time
- Initial Cure: Allow the epoxy to cure for at least 24 hours before walking on it.
- Full Cure: It typically takes about 7 days for the epoxy to fully cure and reach its maximum hardness and durability. Avoid placing heavy objects on the surface during this time.
Maintaining Optimal Conditions
- Temperature: Keep the room temperature within the recommended range specified by the epoxy manufacturer (usually between 16°Cand 30°C or 60°F and 85°F).
- Humidity: Ensure the humidity levels are low to moderate to prevent moisture interference with the curing process.
- Ventilation: Proper ventilation helps with curing and dissipates any fumes from the epoxy.
Initial Care and Avoiding Damage During the Curing Process
- Avoid Heavy Traffic: Refrain from dragging heavy items across the floor or placing heavy furniture during the initial curing period.
- Protective Measures: Use soft pads under furniture legs and avoid wearing high heels or shoes with hard soles on the freshly coated surface.
Long-Term Maintenance Tips
Maintaining your epoxy floor ensures its longevity and keeps it looking pristine. Here are some tips for long-term care:
- Regular Cleaning:
- Sweep and Vacuum: Regularly sweep and vacuum to remove dirt and debris that can scratch the surface.
- Mop with Mild Detergent: Use a mop with a mild detergent solution to clean the floor. Avoid using harsh chemicals that can damage the epoxy.
- Stain Prevention:
- Wipe Spills Immediately: Clean up spills as soon as they occur to prevent staining.
- Use Mats: Place mats at entryways to reduce the amount of dirt and moisture tracked onto the floor.
- Avoiding Damage:
- Use Soft-Bristle Brushes: When scrubbing the floor, use soft-bristle brushes to avoid scratching.
- Avoid Abrasive Cleaners: Do not use abrasive cleaners or pads that can wear down the epoxy surface.
Ensure the longevity and durability of your epoxy floor. Proper post-application care is crucial for preserving the finish and maximizing the benefits of your epoxy flooring.
Common Mistakes to Avoid
When applying epoxy over a painted concrete floor, there are several common mistakes that can lead to poor results. Avoiding these mistakes is crucial to achieving a professional and durable finish.
Skipping the Etching Process
Etching is essential for opening up the concrete pores, allowing the epoxy to bond properly. Skipping this step can result in poor adhesion and peeling. Always perform the etching process as outlined, using an appropriate acid-based etching solution.
Inadequate Surface Cleaning
Dirt, grease, and other contaminants can prevent the epoxy from adhering properly, leading to bubbles and peeling. Thoroughly clean the surface with degreasers and ensure it’s free of debris before applying the epoxy.
Not Following Curing Times
Epoxy needs sufficient time to cure to achieve its full strength and durability. Rushing this process can compromise the finish. Adhere strictly to the manufacturer’s recommended curing times between coats and before using the floor.
Improper Mixing of Epoxy
Incorrectly mixed epoxy can result in uneven curing, leading to a weak and inconsistent surface. Follow the mixing instructions carefully, ensuring the resin and hardener are thoroughly blended.
By avoiding these common mistakes, you can ensure a successful epoxy application that will result in a durable and attractive floor. Taking the time to follow each step carefully and paying attention to details will significantly impact the quality of your epoxy flooring project.
Contact Information for Professional Consultations
If you need professional assistance or have further questions, feel free to reach out to us at Crystal Clear Epoxy.
Frequently Asked Questions
How do you remove old stains from concrete?
To remove old stains from concrete, you can use a mixture of trisodium phosphate (TSP) and water, applying it with a brush and scrubbing vigorously. For tougher stains, consider using a pressure washer or a poultice made from baking soda and water.
What is the best stain remover for concrete?
One of the best stain removers for concrete is a commercial degreaser or a product specifically designed for concrete, like muriatic acid, which should be used with caution and proper safety measures.
Will Dawn and vinegar clean concrete?
Yes, a mixture of Dawn dish soap and vinegar can be effective for cleaning concrete. Combine them with water to create a mild cleaning solution that works well for light stains and general cleaning.
Does WD-40 remove stains from concrete?
WD-40 can be used to remove certain stains from concrete, such as oil stains. Spray it on the stain, let it sit for a few minutes, then scrub with a brush and rinse.
Will baking soda remove stains from concrete?
Baking soda can help remove stains from concrete, especially when combined with water to form a paste. Apply the paste to the stain, let it sit, scrub with a brush, and rinse.
Are cement stains permanent?
Cement stains are not necessarily permanent. With the right cleaning methods and products, most stains can be removed or significantly lightened.
Lets Get In Touch
Contact Us
We will get back to you as soon as possible.
Please try again later.
Lets Get In Touch
Contact Us
We will get back to you as soon as possible.
Please try again later.
We provide durable epoxy and polyaspartic flooring for garages, basements, warehouses, and commercial spaces. Serving Toronto, Vaughan, Mississauga, Markham, and beyond, we ensure fast, high-quality installations.
Epoxy Services
Contact us
Business Hours
- Mon - Sun
- -
Google Reviews
Edit Google Reviews Widget
Call
+1 647 955 6885@ 2025 All Rights Reserved || Crystal Clear Epoxy Inc

